 View All
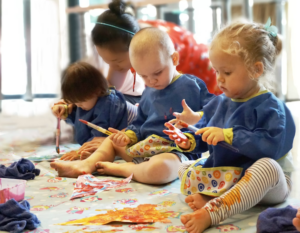


 View All
 View All

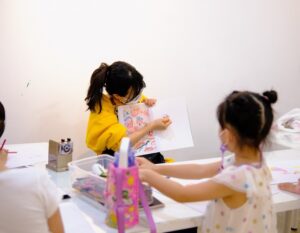
Art at Home: Low Mess, Little Resources, Big Creativity
Doing art at home has nothing to do with accuracy, skill or ‘fine-art-degree’ perfection. Your children just need to create, they just need excitement and fun and colour and expression. Most of the beauty of creating art with your kids is the ability to be present and open to discussion and conversation. You do not need an excess of materials, a separate room or specialist materials to have an artistic home, you simply need a little time and a focus on the process rather than the product.
Two tips I’ll give you before we begin…
1. Never answer ‘Is it good?’ with a statement about their product. Talk about what stands out to you, ask them what they like about it, and what stands out to them in the process and the work. Children don’t need an art critic.
2. You should be doing the art as well… creating art beside them is far more beneficial than watching over them.
Click through the gallery for the art how-to guide to make recycled murals at home!
Read More:
Art At Home: Dye and Marker Art
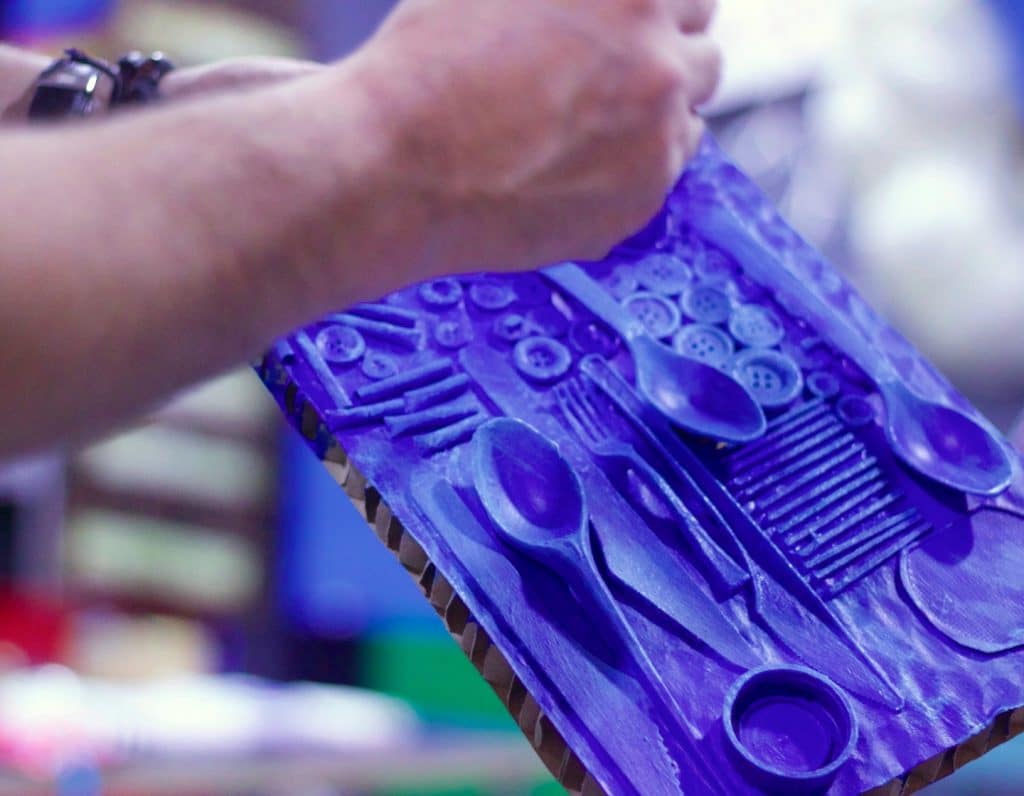
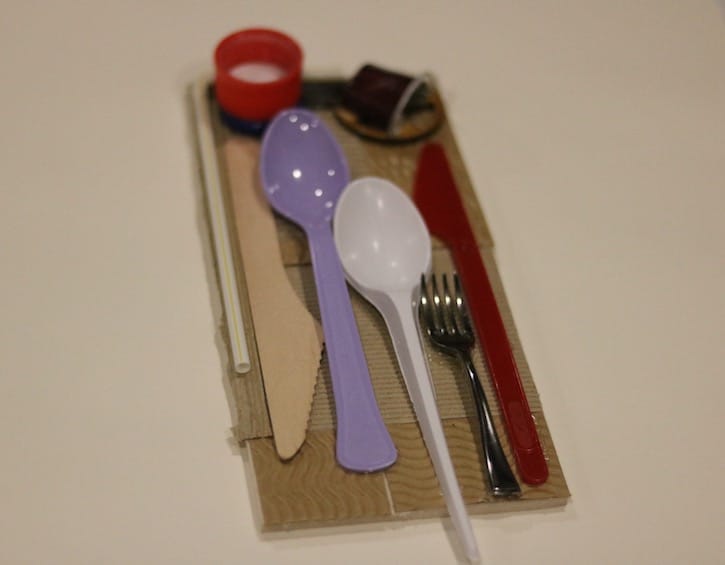
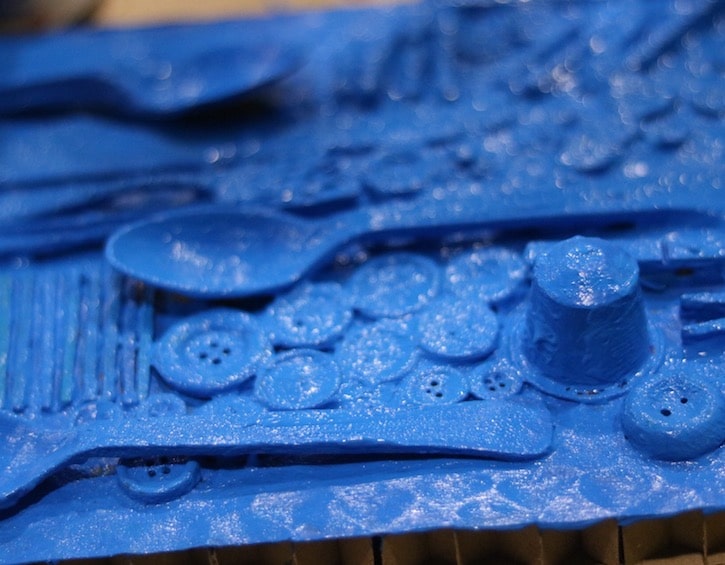
This project is an amazing start for sculpture and is also a really wonderful way to up-cycle waste, or no longer used household objects. The key to this is deciding on a theme, and ensuring that you have a variety of objects, textures and shapes. A great example would be making a sculptured canvas for the kitchen out of all or your broken or unused kitchen utensils, or a piece of bathroom art out of hotel shampoo bottles and toothbrushes, combs etc.
What You’ll Need:
- Recycled objects,
- Cardboard / wood / plastic / recycled bags
- White glue (PVA)
- A hot glue gun (Optional – if you are gluing heavier objects)
- Paint – Acrylic or house paint – not tempura or poster paint as the coverage is not great.
- White Paint, for shading and mixing
- Brushes
First, collect all of your materials and come up with a layout. Choose a baseboard. This can be card, or canvas or wood — just ensure that if it is going into a wet or damp environment that the base won’t become soggy or fall apart. Now position and glue your objects on your base.
If making a sign, you might want to write the words first and then position your objects over the words. String and wool works well too, as does textured card or plastic. Work together with your kids to fill the base as much as possible. Be intentional with your use of empty space, you don’t want too many blank spaces. If you are using PVA glue be aware that it needs a day to really dry, and that it can be frustrating when things don’t feel like they are sticking. They will, it just takes time. Heavy objects, however, may become unstuck over time, so that is where hot glue is really helpful. Please be careful with hot glue and children, it burns.
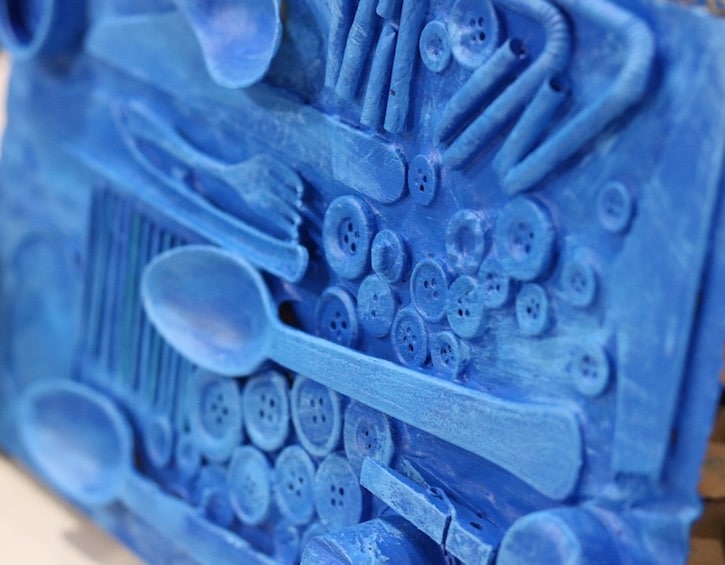
Once your creation is glued and dry, give it 2-3 base coats with your paint. I always think one solid colour is a good place to start. Once you have made more than one, you could explore using different colours, textures or strategies but to begin with, just several even coats of a single colour will be effective.
You can use hairdryers to dry your work. This is always fun with the kids, but do be careful of over heating or bubbling paint. When your work has a nice solid colour and you cannot see the original colours or gaps shining through, you are ready to dry brush and finish your work.
Dry-brushing is a very simple but effective painting strategy. You need to create a lighter shade of the base coat colour. You can either purchase this, or simply mix in white gradually (while stirring) until you get the tone you want. To dry-brush, dip your brush into the paint, and then scrape it off again, removing as much excess as possible. Now move your hand and wrist quickly and brush lightly over the painted surface. This new colour will highlight raised edges and textures.
It is best to do this lightly, without much paint as you can always go over multiple times until you get the effect you want. If you have a test piece of object you can practice dry-brushing on first, it always helps, as you can refine your technique first. If you or your child have been too heavy handed, just wipe the paint off, repaint with the darker shade, and try again when dry. You can do several shades, going over lighter with each passing. This will give real depth and texture to your art.
Try doing this project with different themes and intentions, and you’ll create some beautiful projects. Get creative. You don’t have to create flat art… an old pair of shoes, or lampshade or plastic bottle could become a featured sculpture within your home.
All images by Inspired Arts
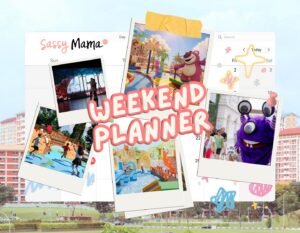
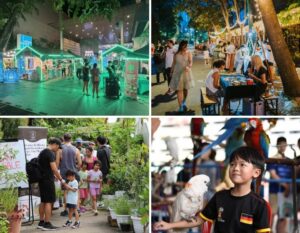
![[𝗙𝗜𝗥𝗦𝗧 𝗟𝗢𝗢𝗞] 𝗧𝗵𝗿𝗶𝗹𝗹𝗶𝗻𝗴 𝗧𝘄𝗶𝗻 𝗦𝗹𝗶𝗱𝗲, 𝗪𝗮𝘁𝗲𝗿 𝗚𝘂𝗻 𝗕𝗮𝘁𝘁𝗹𝗲𝘀, 𝗢𝗯𝘀𝘁𝗮𝗰𝗹𝗲 𝗖𝗼𝘂𝗿𝘀𝗲 & 𝗠𝗼𝗿𝗲 𝗔𝘁 𝗦𝗽𝗹𝗮𝘀𝗵𝘁𝗼𝗽𝗶𝗮 𝟮𝟬𝟮𝟲
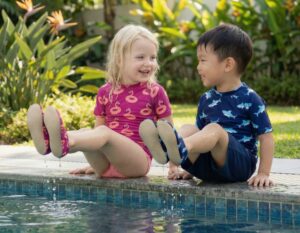
The highly anticipated June holiday event returns to Palawan Green, Sentosa. This year, Splashtopia 2026 invites families to step into a Hawaiian-themed water paradise, where you can beat the heat, enjoy friendly competition with water gun fights and whizz down slides to make a huge splash. With a whopping eight tiki-inspired inflatables, there’s something for kids and grown-ups of all ages!
𝗪𝗵𝗮𝘁 𝘄𝗲 𝗹𝗼𝘃𝗲:
- Little ones can enjoy gentler water play zones with shallow pools and soft balls for sensory play.
- Older kids can get competitive with water sports or water gun battles and show off their speed, balance and agility at the inflatable obstacle course.
- This is a great way to beat the heat and burn off the kids’ energy this June holidays!
- There are tables and chairs to rest and recharge when you need a break from the chaos.
- Each play session is three hours long, which is plenty of time for the kids to have a blast.
- Kiztopia friends will make special appearances at 11:30am, 2:30pm and 5:30pm for adorable photos with the kids.
𝗪𝗵𝗮𝘁 𝘁𝗼 𝘁𝗮𝗸𝗲 𝗻𝗼𝘁𝗲 𝗼𝗳:
- There isn’t much shelter here, so we recommend visiting in the late afternoon to avoid the peak sun.
- Kids can easily get dehydrated in the heat, so be sure to bring water and be prepared to purchase snacks and drinks at their F&B stalls.
- A ticket is required for kids aged 2 and above, and adult supervision is required for children below 1.2m.
- Refrain from wearing clothing with hard or sharp embellishments such as zippers, buttons and rivets.
Comment “splash” or tap the link in bio for all the deets!
𝗪𝗵𝗲𝗻: 30 May - 28 June 2026, 10am - 8pm
𝗪𝗵𝗲𝗿𝗲: Palawan Green, Sentosa
𝗛𝗼𝘄 𝗺𝘂𝗰𝗵: From $24 per person for three hours of play on weekdays and $28 per](https://www.sassymamasg.com/wp-content/plugins/instagram-feed/img/placeholder.png)
