


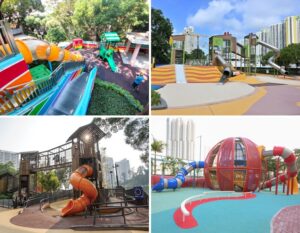


 View All
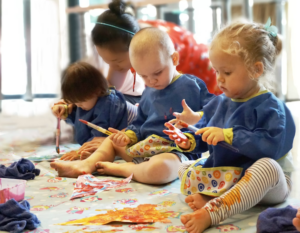
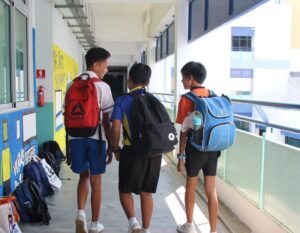


 View All
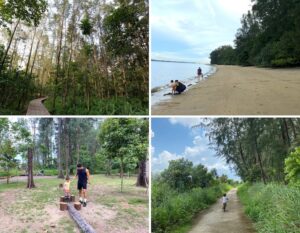


 View All

Please welcome crafty mama Pooja Makhijani with a 3-part series on DIY bookmaking projects you can do with your little ones!
I first learned basic bookbinding at the Center for the Book Arts in Chelsea, New York City, and continued my studies as a creative writing graduate student in the U.S. I have taught the book arts in a variety of educational, corporate, and community settings in Singapore since 2011. I’ve worked with children and senior citizens, and I relish the challenge of sharing my love of this quirky art with those who may not have the access or the means to procure expensive tools and materials.
Basic bookbinding requires no heavy equipment. All you need are a ruler and scissors and a few other minor tools. If you are keen on building a professional-quality hand bookbinding toolbox, click here to see where in Singapore you might buy your materials (or a close approximation thereof).
Here, I’ve partnered with Keith Premchand to bring to you and your children three easy bookbinding techniques (click here for Part 1: a DIY travel scrapbook). This series of posts by no means encompasses everything there is to know about book making, but I hope that it will inspire you to explore more!
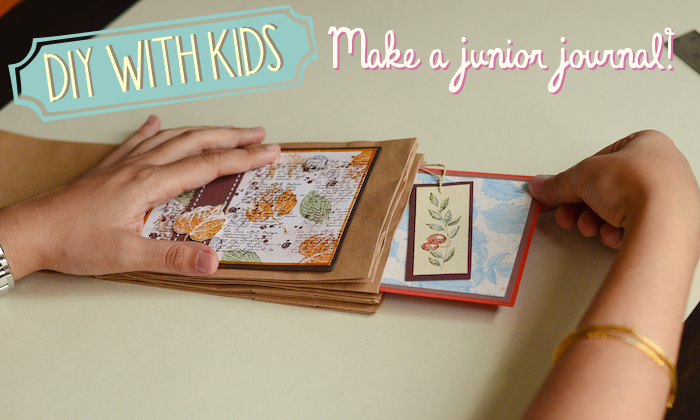
Project 2: Paper Bag Ephemera Journal
The simplest method of binding a book bound on one edge is with a pamphlet stitch.
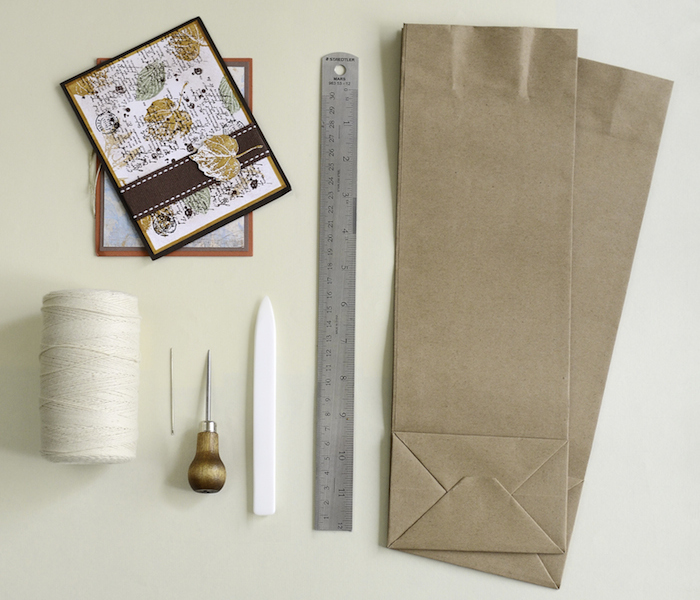
Tools
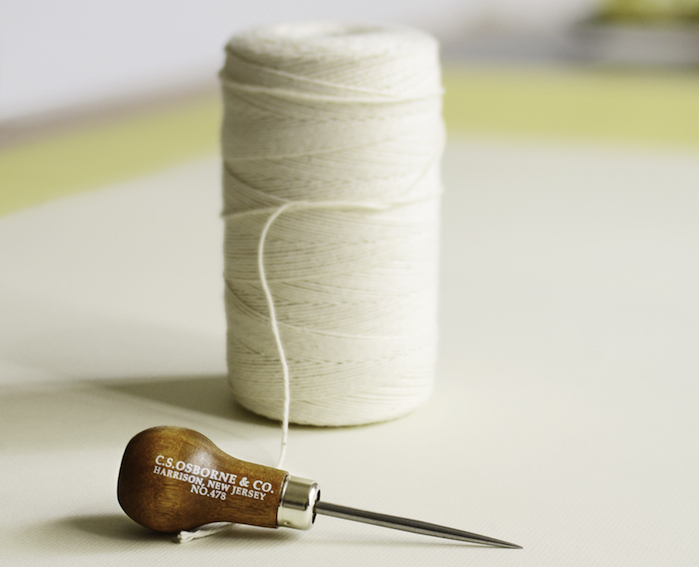
- A bookbinding needle (a strong, blunt tip needle)
- A bone folder, a flat, polished tool made of bone or plastic for turning corners on cloth and leather, scoring paper, folding, smoothing out surfaces, and burnishing surfaces
- A student quality (non-professional quality) binder’s awl, a tool used for piercing sewing stations, or the hole through which the needle and thread can pass
Materials
- 3 paper bags, any size and any color
- Unbleached French linen thread (pictured) or six-ply cotton embroidery floss
- “Ephemera” such as greeting cards, bookmarks, catalogues, letters, pamphlets, postcards, posters, or tickets to make the cover
Method
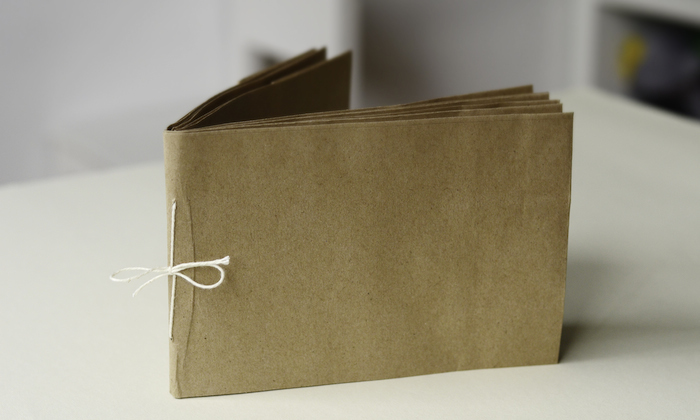
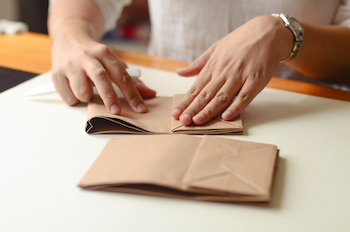 Using your bone folder, fold each of the paper bags in half and nest them together.
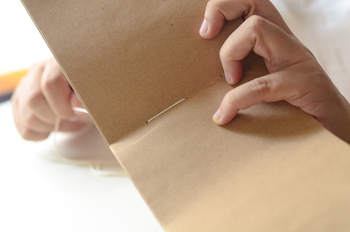
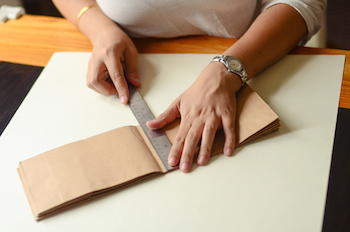 Using your ruler and a pencil, mark three sewing stations, or holes. Station 2 is exactly in the center of the spine. Stations 1 and 3 are equidistant from the center. (I marked them 1.5″ from Station 2.)
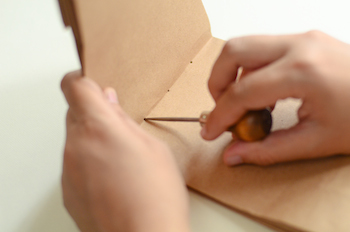 Using your awl, pierce the sewing stations.
- Thread your needle. Do not tie a knot just yet!
 To bind, begin on the outside at Station 2. Pull your needle through Station 2. Pull all but 2″ of the thread to the inside.
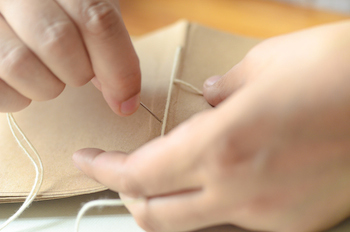 Go through Station 1 to the outside.
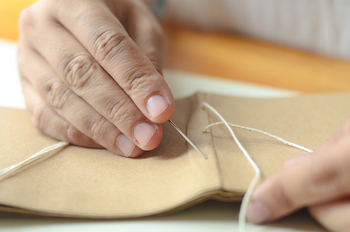 Go through Station 3 to the inside.
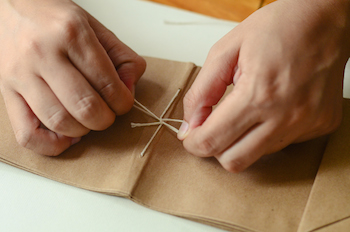 Go though Station 2 to the outside. Tie a square knot around the long stitch.
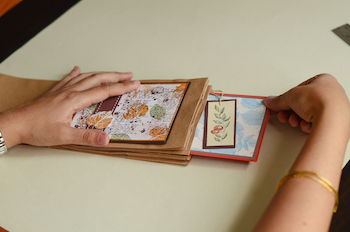 Attach your “ephemera” to the paper bag’s “pages” with a glue stick or tucked into the bag’s pockets. Voila! A journal that’s equally perfect for writing, drawing, or even pressing flowers.
![[𝗙𝗜𝗥𝗦𝗧 𝗟𝗢𝗢𝗞] 𝗝𝘂𝗝𝘂 𝗪𝗼𝗿𝗹𝗱 𝗕𝘆 𝗖.𝗝. 𝗛𝗲𝗻𝗱𝗿𝘆: 𝗚𝗶𝗮𝗻𝘁 𝗜𝗻𝗳𝗹𝗮𝘁𝗮𝗯𝗹𝗲𝘀, 𝗔 𝗛𝘂𝗴𝗲 𝗦𝗹𝗶𝗱𝗲, 𝗕𝗹𝗶𝗻𝗱 𝗕𝗼𝘅𝗲𝘀 & 𝗠𝗼𝗿𝗲! 💛🛝
More than just C.J. Hendry's iconic Flower Market exhibition, JuJu World is a whole new experience!
Dive into an immersive inflatable wonderland filled with giant JuJu characters, playful installations and thousands of JuJu-shaped yellow balls that both kids and adults can dive into. Created by the renowned artist, this larger-than-life experience blends art, play and plenty of photo-worthy moments in this huge playground!
𝗪𝗵𝗲𝗻: 20 June – 18 July 2026
𝗪𝗵𝗲𝗿𝗲: IMBA Theatre, 18 Marina Gardens Drive, #01-23, Singapore 018953
(Nearest MRT Station: Bayfront Station Exit B) (10-min walk from Cloud Forest/Flower Dome)
𝗛𝗼𝘄 𝗺𝘂𝗰𝗵: Under 3: Free! | Child (3–12): $10 | Adult (13+): $15
Comment "Juju" or tap the link in bio to check out more family-friendly activities for the weekend!](https://www.sassymamasg.com/wp-content/plugins/instagram-feed/img/placeholder.png)
