I am a huge fan of doing kids’ birthday parties at home. The intimacy and homemade nature of the birthday party always reminds me of parties when I was little, when there was really no choice about where you had your party…it was simply at home and Mum baked the cake. These days we have so many other options that the home party can fill parents with dread. All the mess…all the noise…what to do with entertaining the kids!?!
But actually, it can be fun. My general home party rules go something like this: limit the children who attend to close friends, keep the party to a maximum of 2 hours, and plan enough party games to keep the kids occupied. (And then collapse in a heap when it’s all over, because I cannot lie, it takes a reasonable amount of effort!).
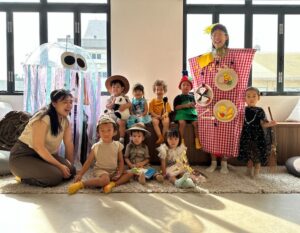
So, if, like me, you like the idea of hosting a kid’s party at home, here’s a bit of a how-to guide for a Princess and the Pea/Storybook Party that I hosted earlier this year.
To decide on a party theme, I always have my kids choose what kind of cake they would like first and then plan a theme around their choice. (Given I am in control of which cakes they actually get to see in the cookbook, it is the perfect combination of giving them a choice that also works for me).
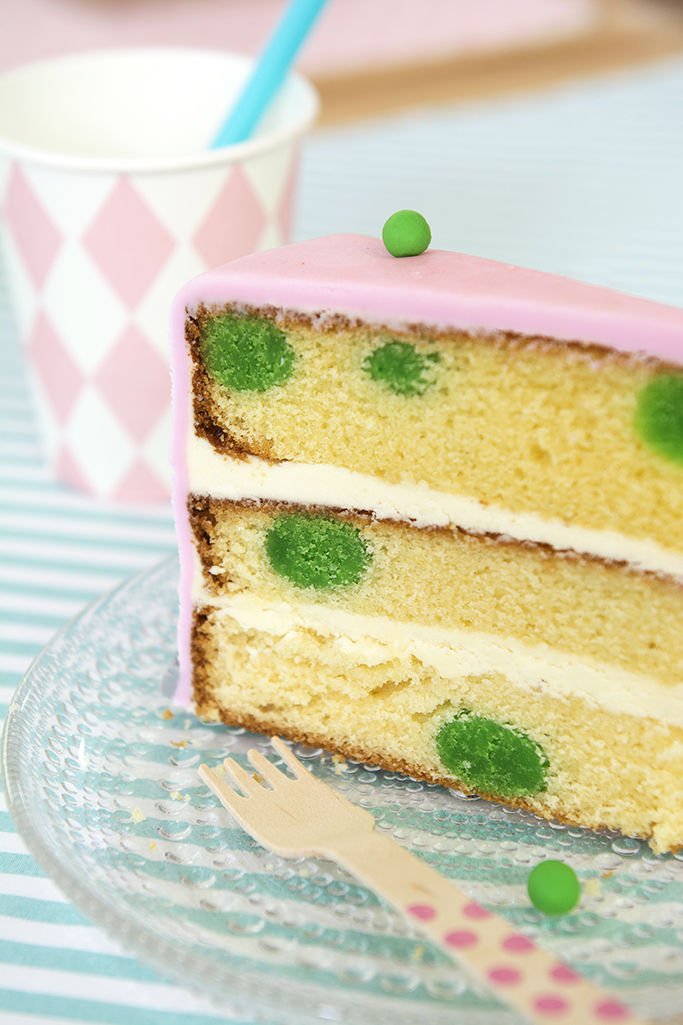
This year my daughter chose a Princess and the Pea cake. So to appeal to both boys and girls alike, I interpreted this into a ‘Storybook’ theme.
I found some sweet pink harlequin and turquoise love heart paper cups in Children’s Showcase so I used that as a guide for the party colours.
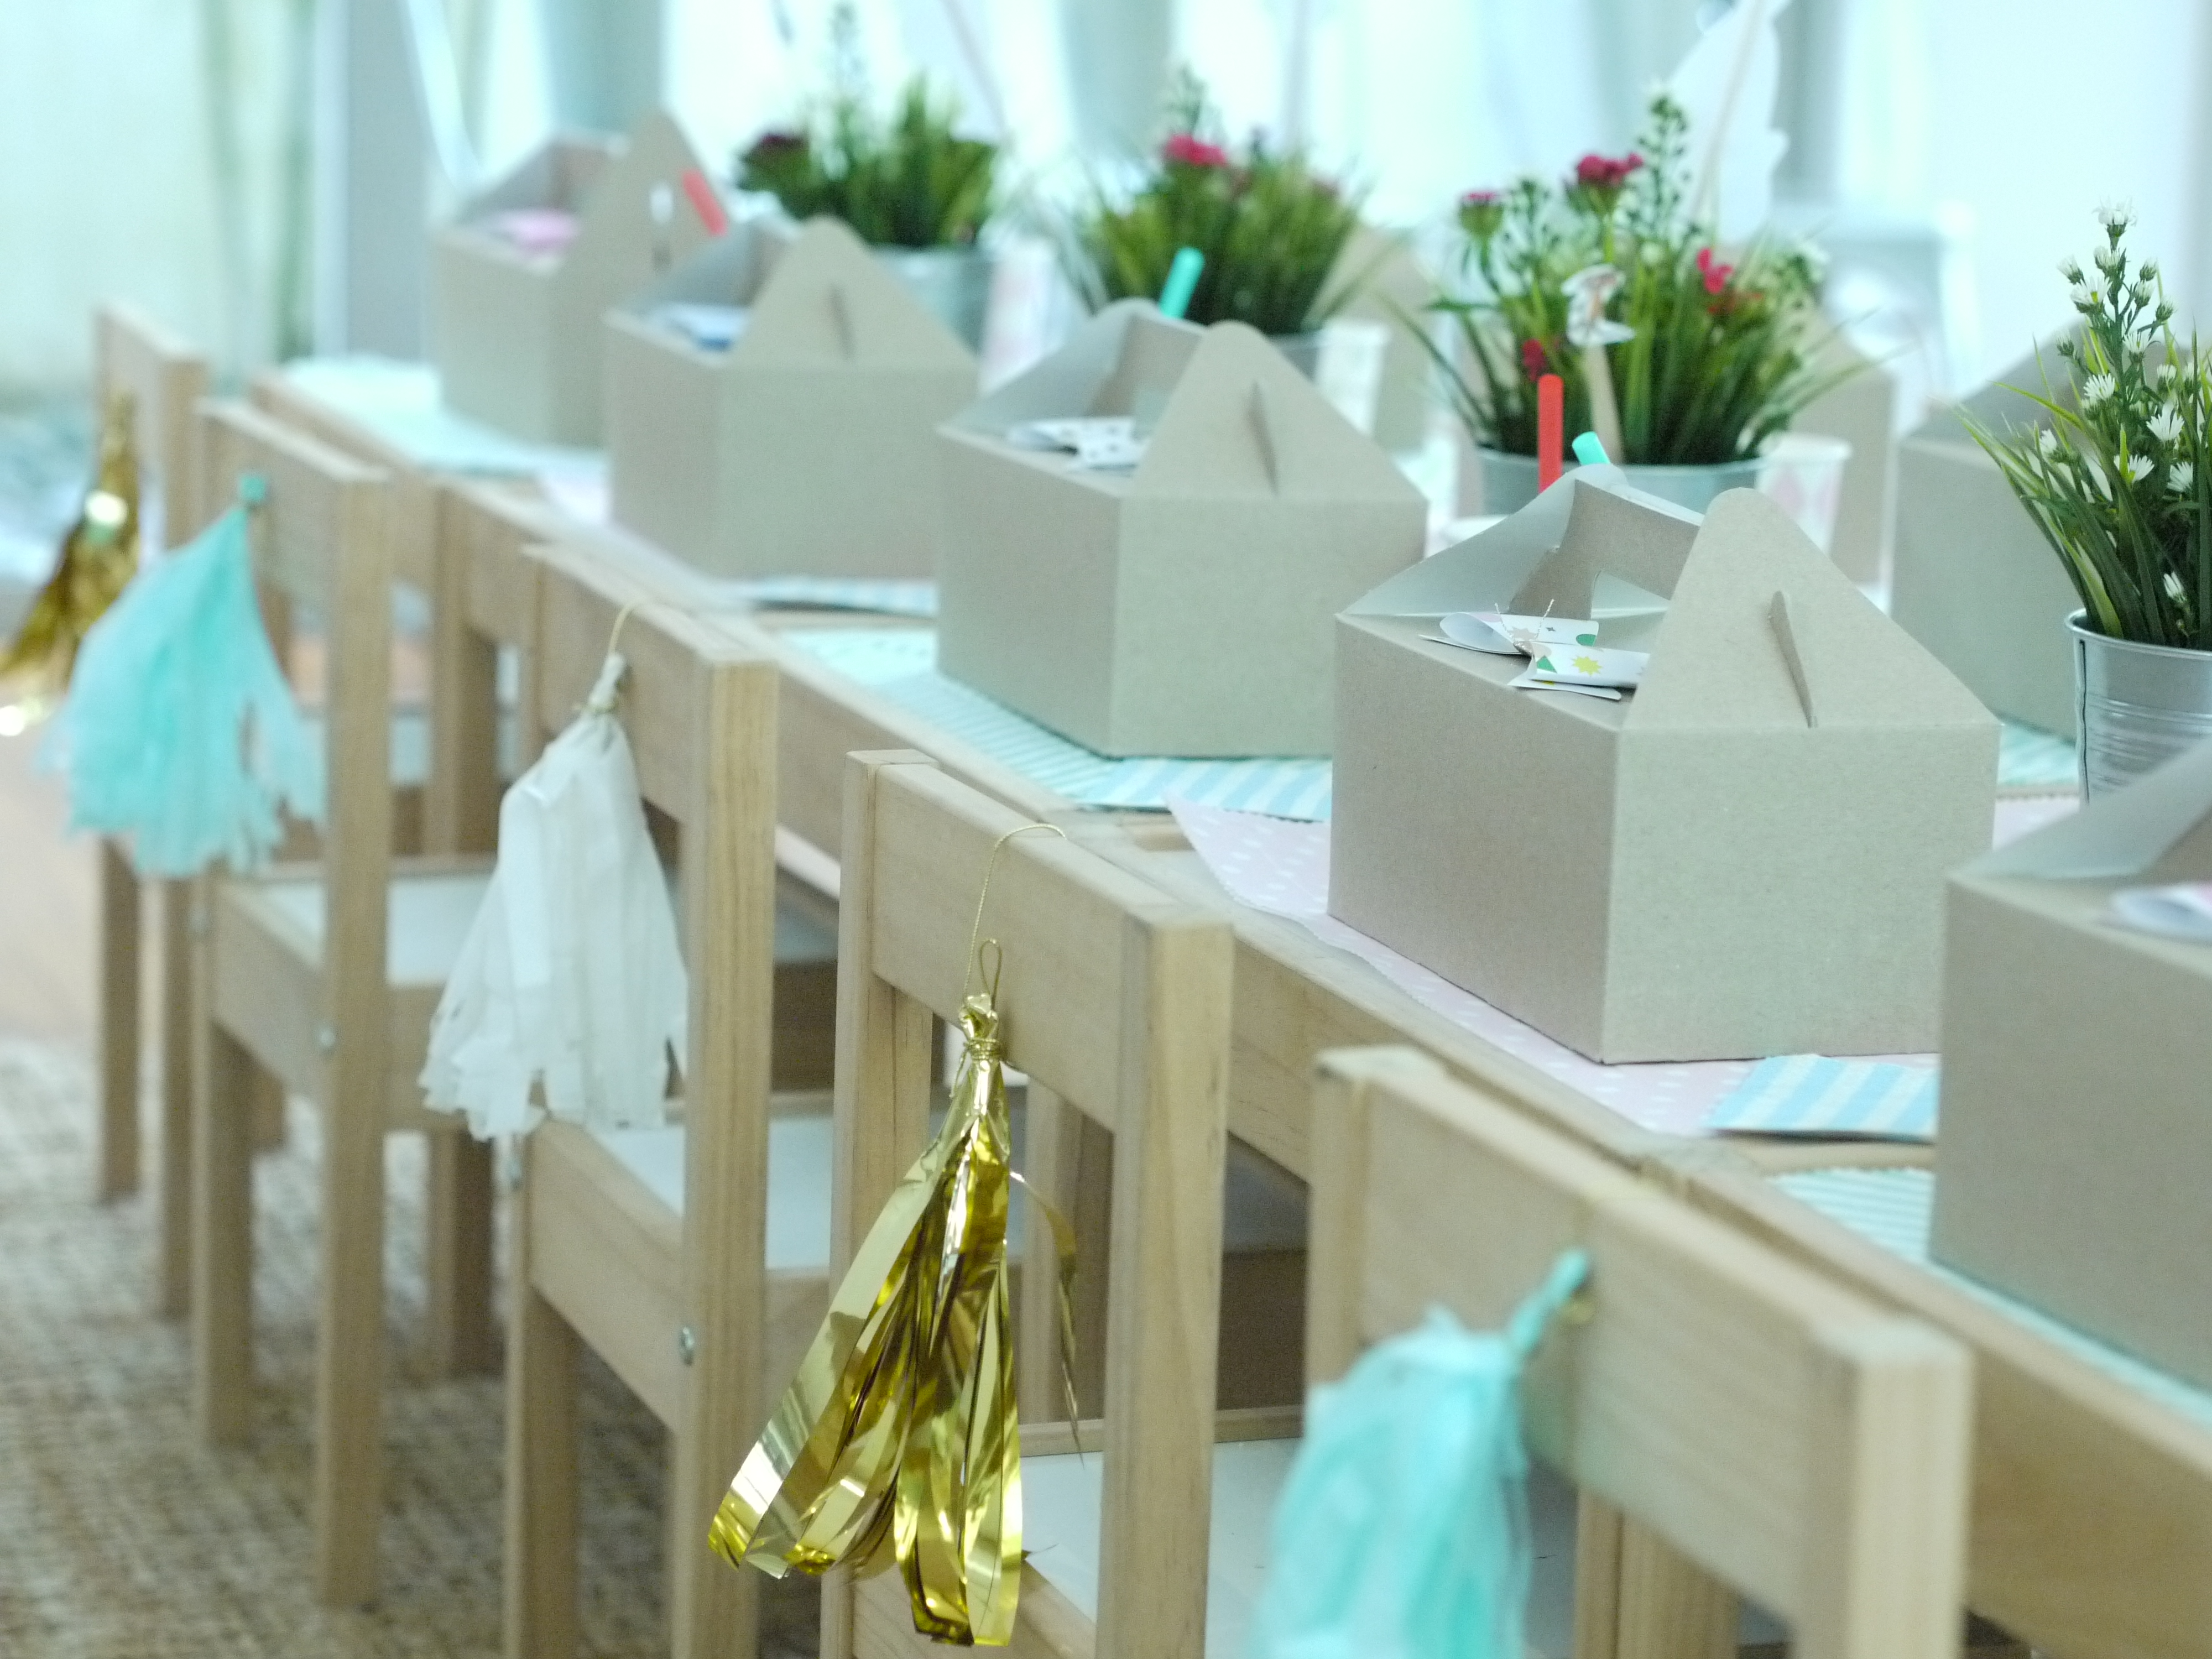
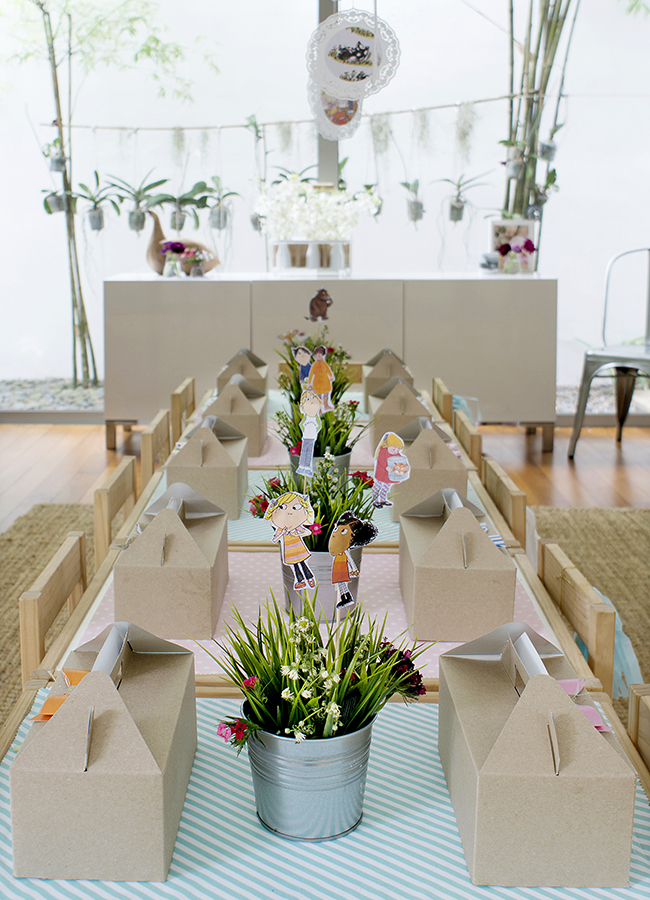
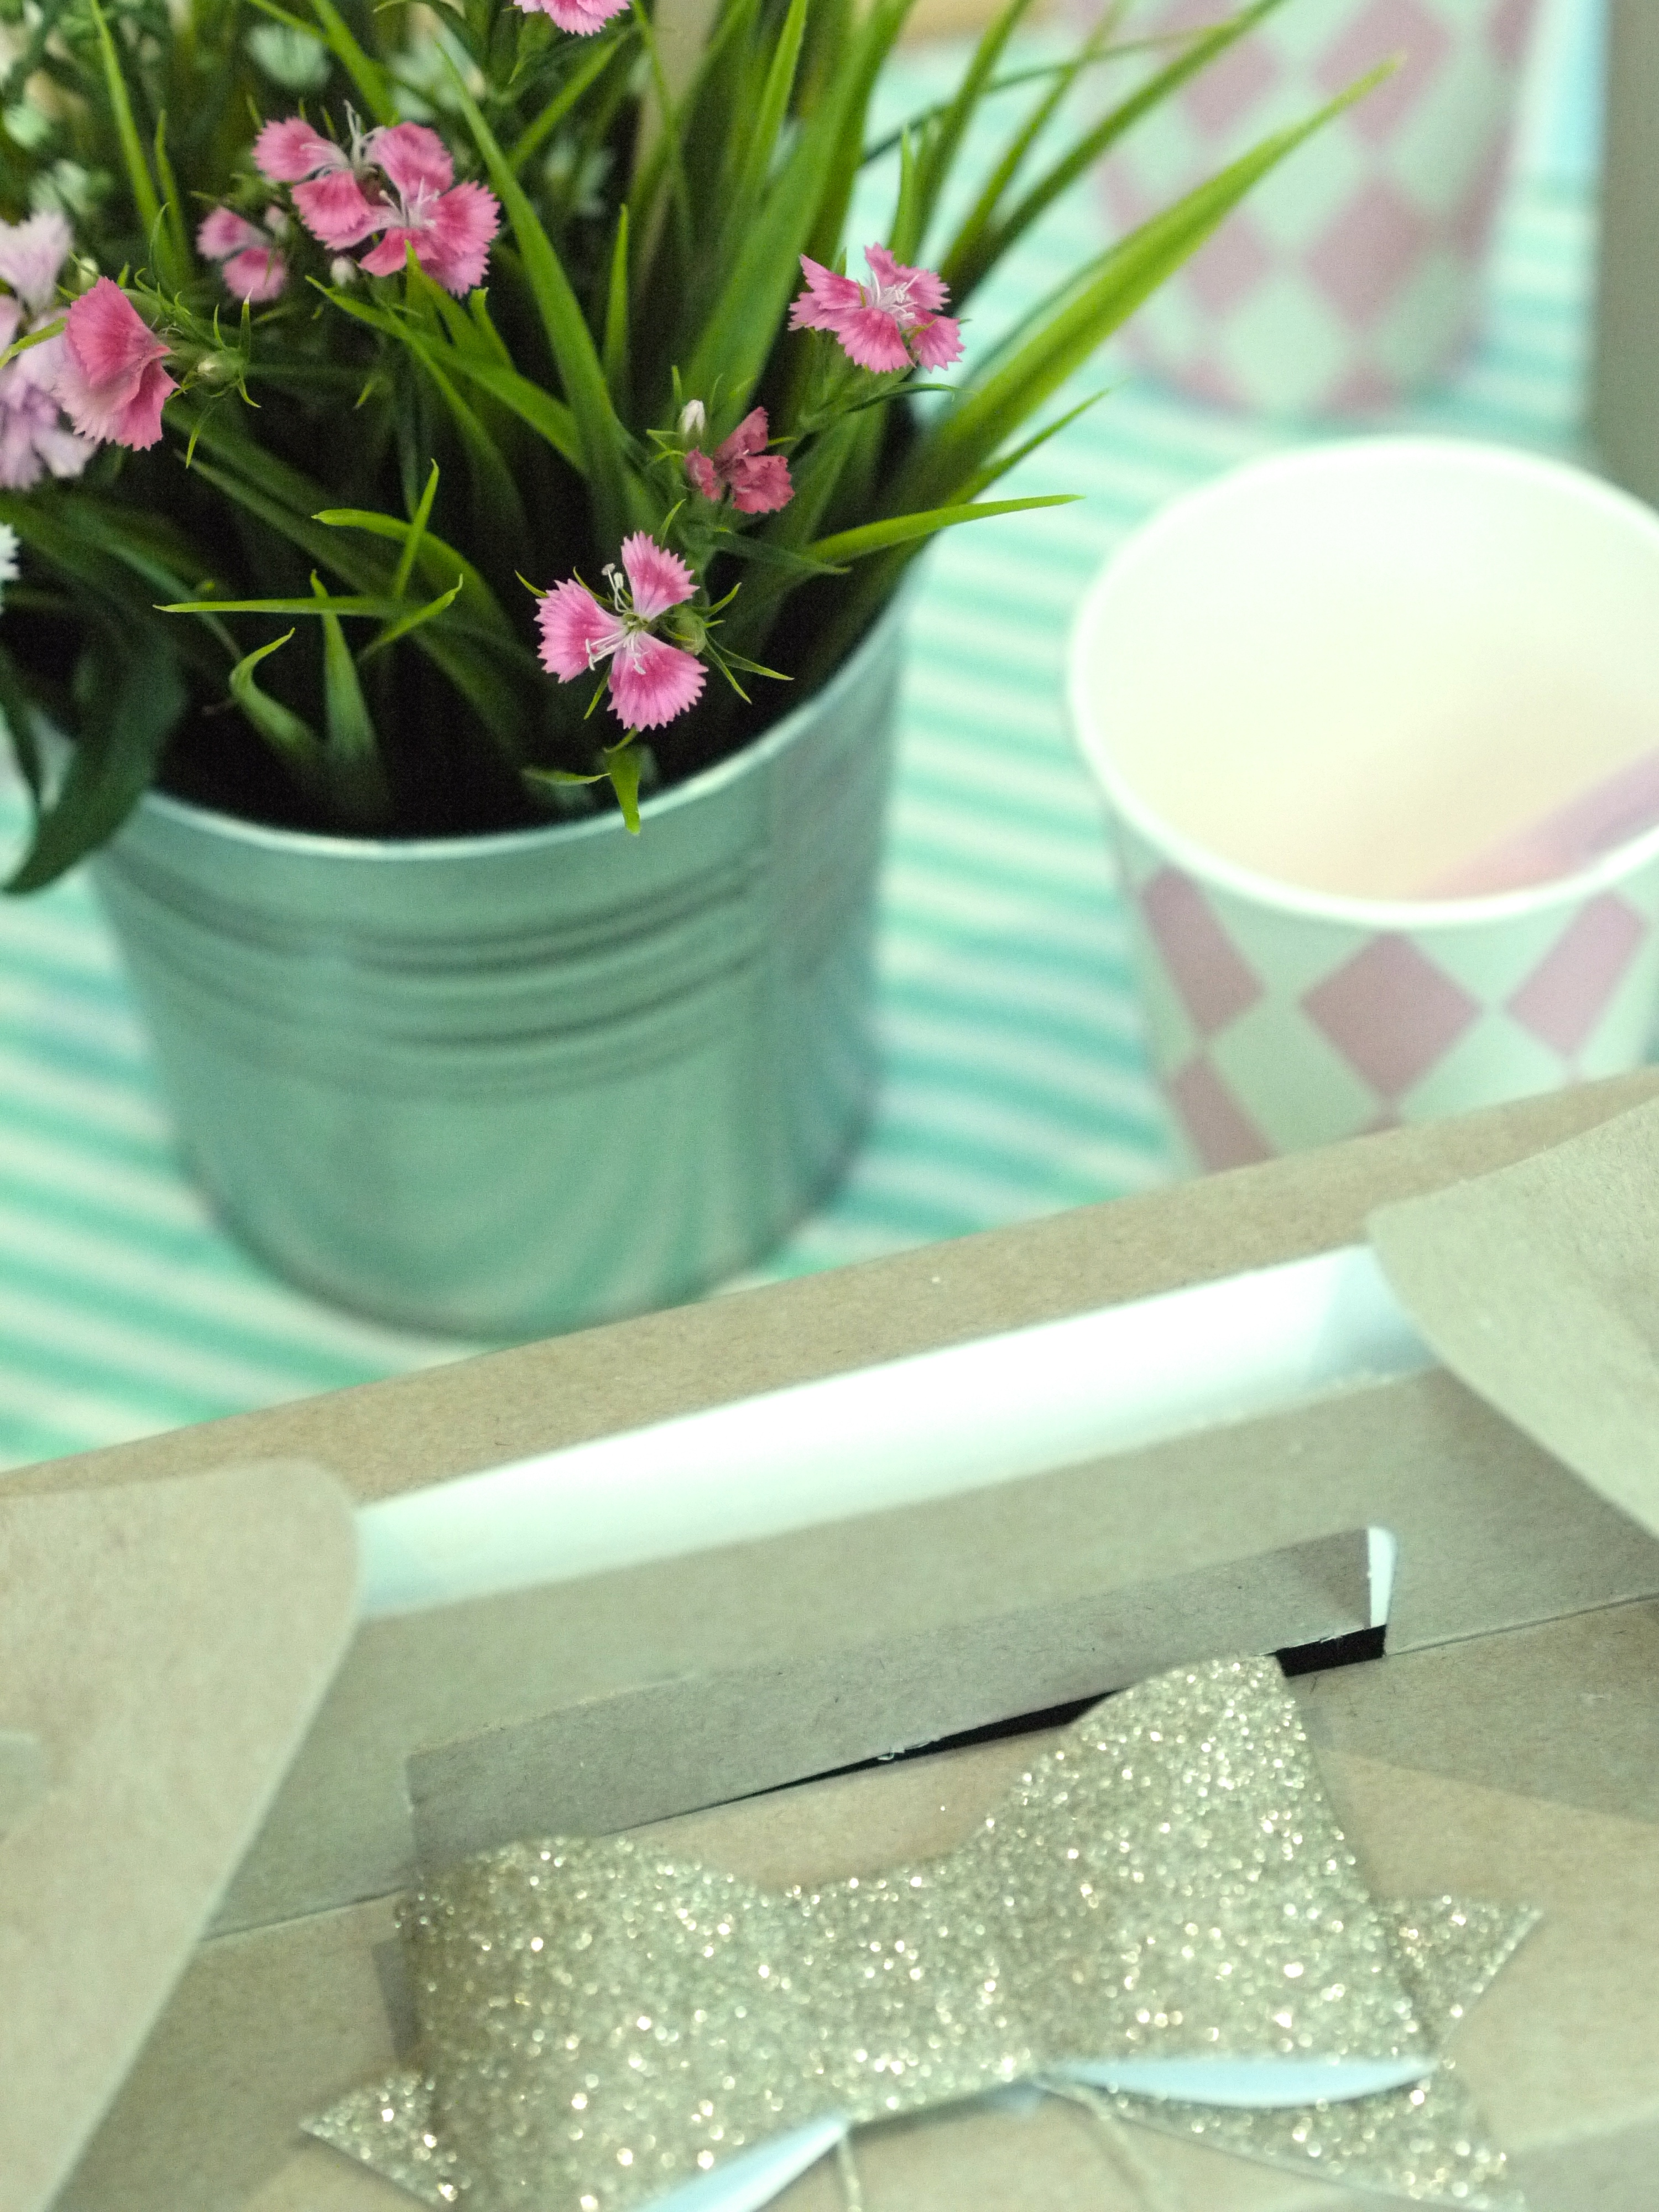
I made tablecloths from fabric sourced from Spotlight and served the food in picnic boxes adorned with Meri Meri paper bows that I bought from ToTT. Picnic boxes are a great alternative to plates; the kids adore opening them and it means you can serve a portion of food to each child without mess and hassle. It also saves on trying to ‘theme’ your food (which is just way too much work for my liking!).
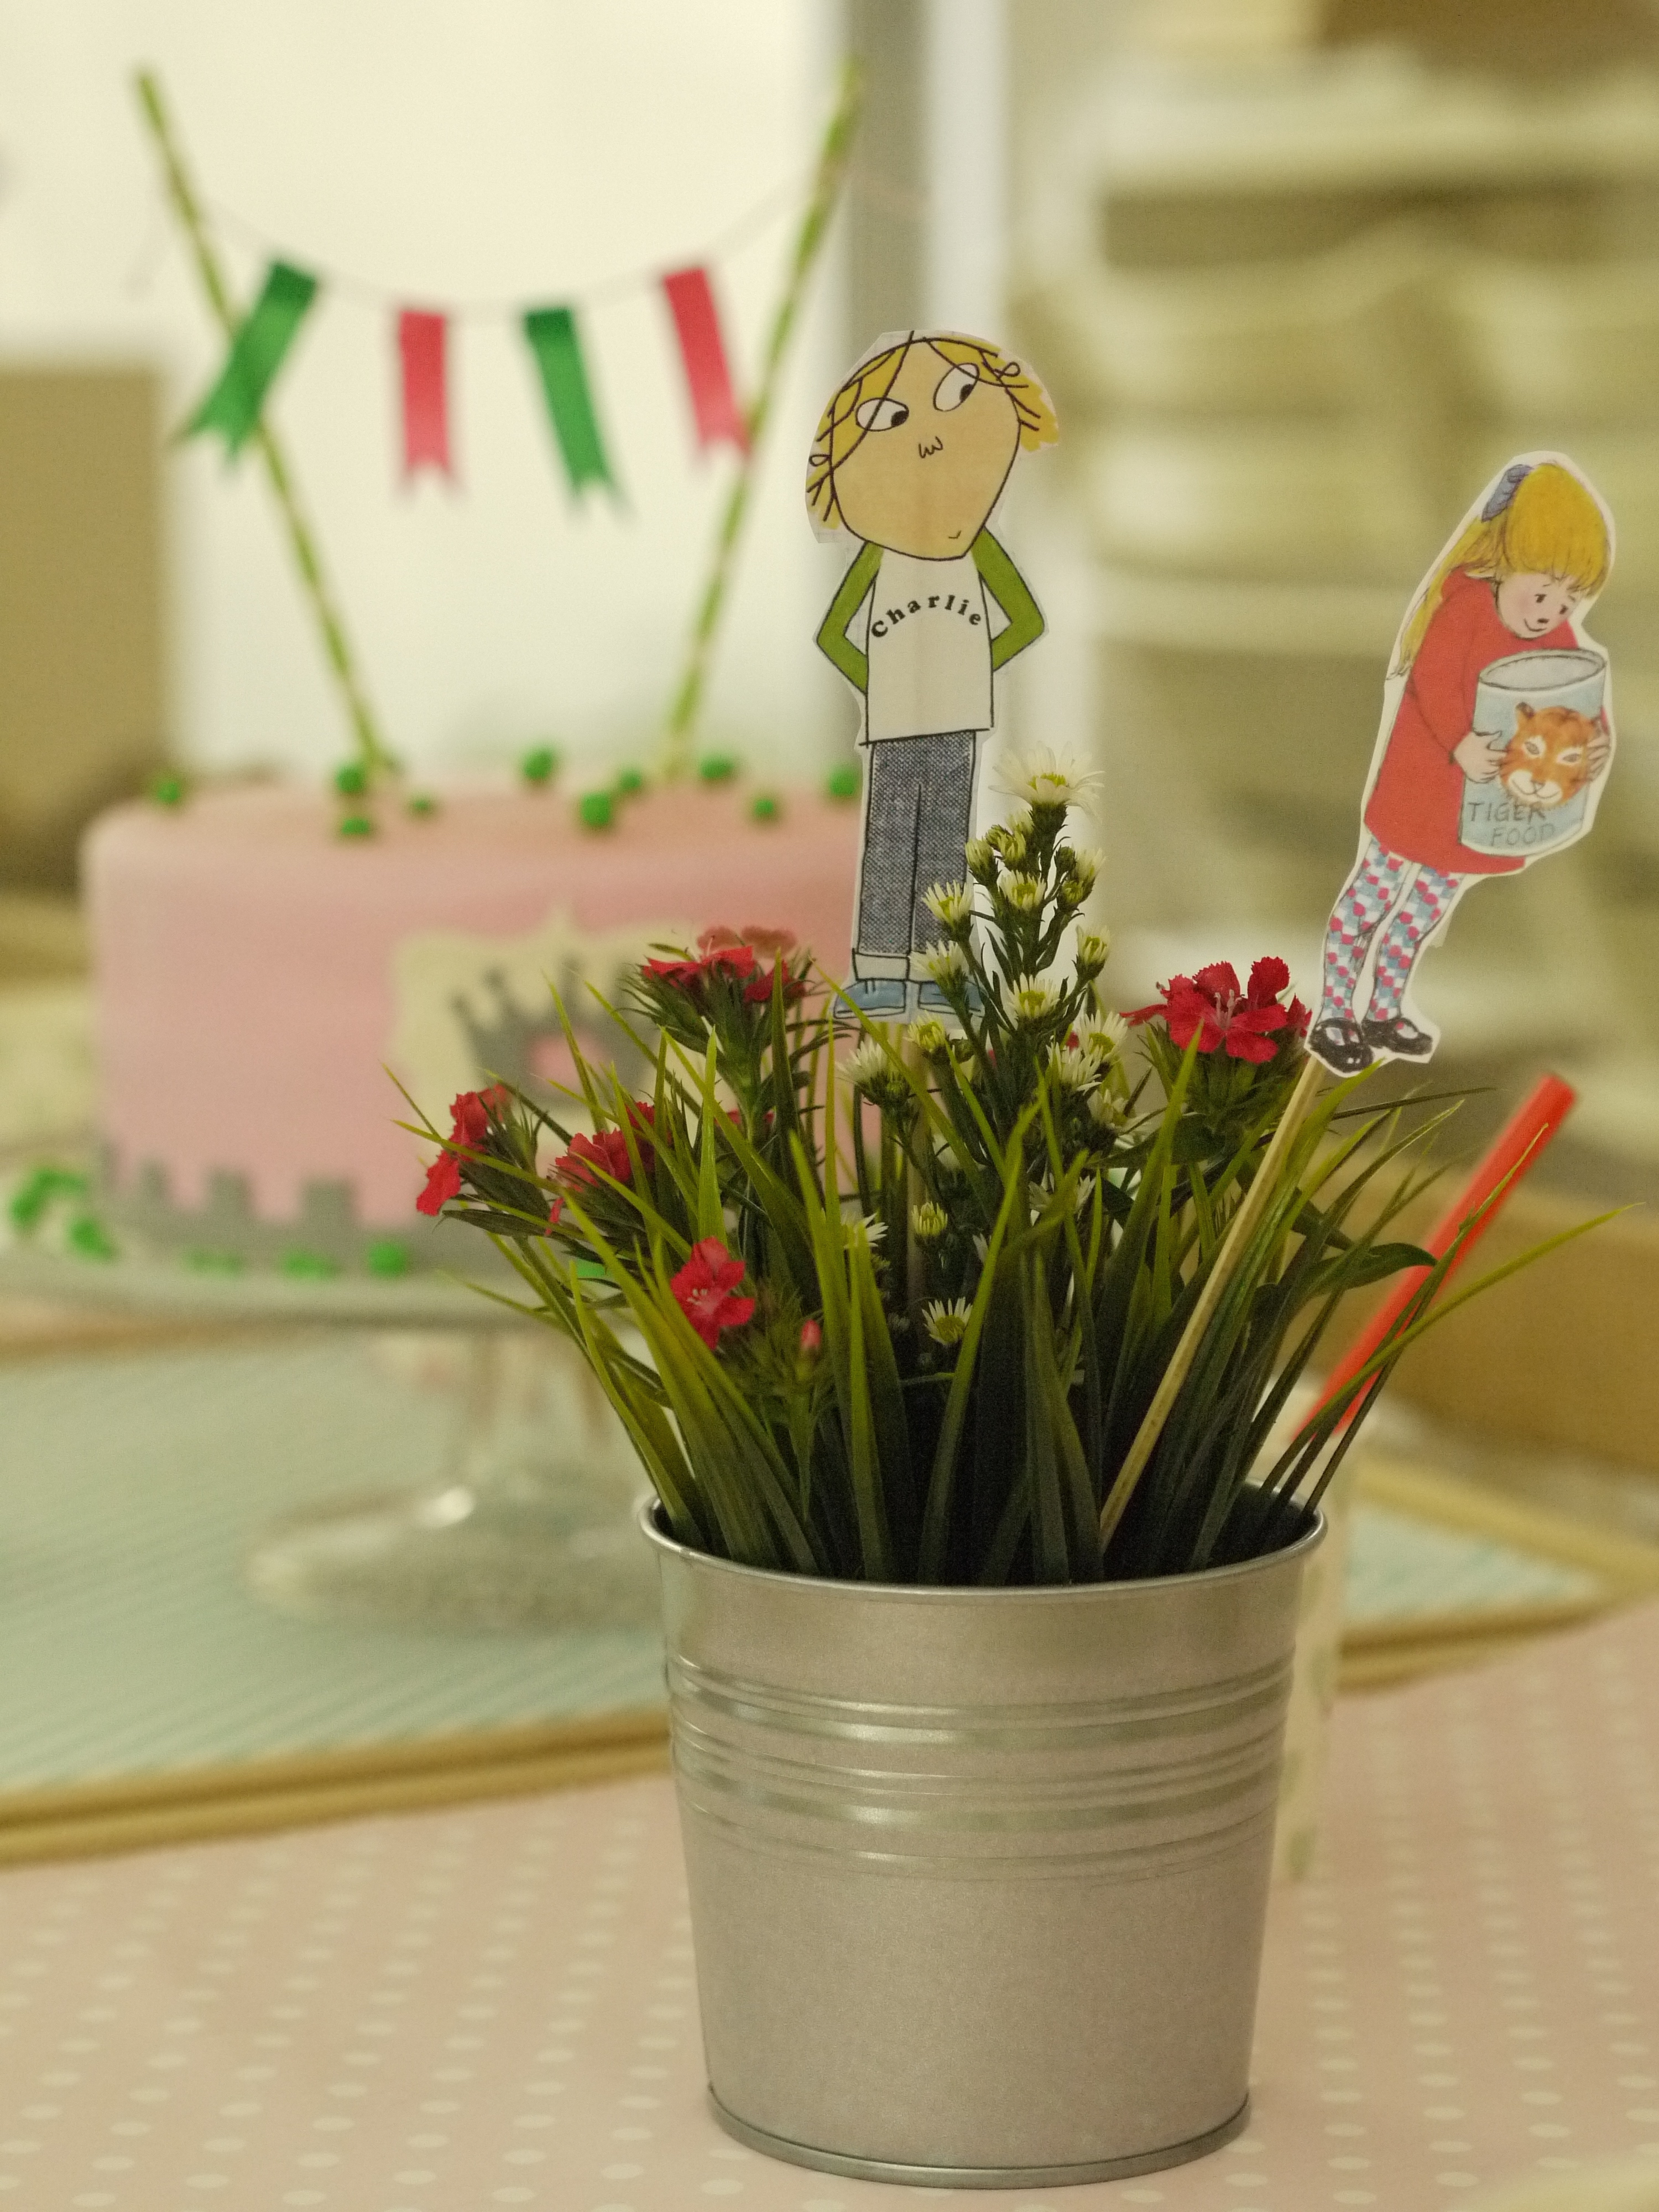
To decorate the tables I used some artificial grass pots from IKEA dotted with fresh flowers from JM Florist that held book character cutouts.
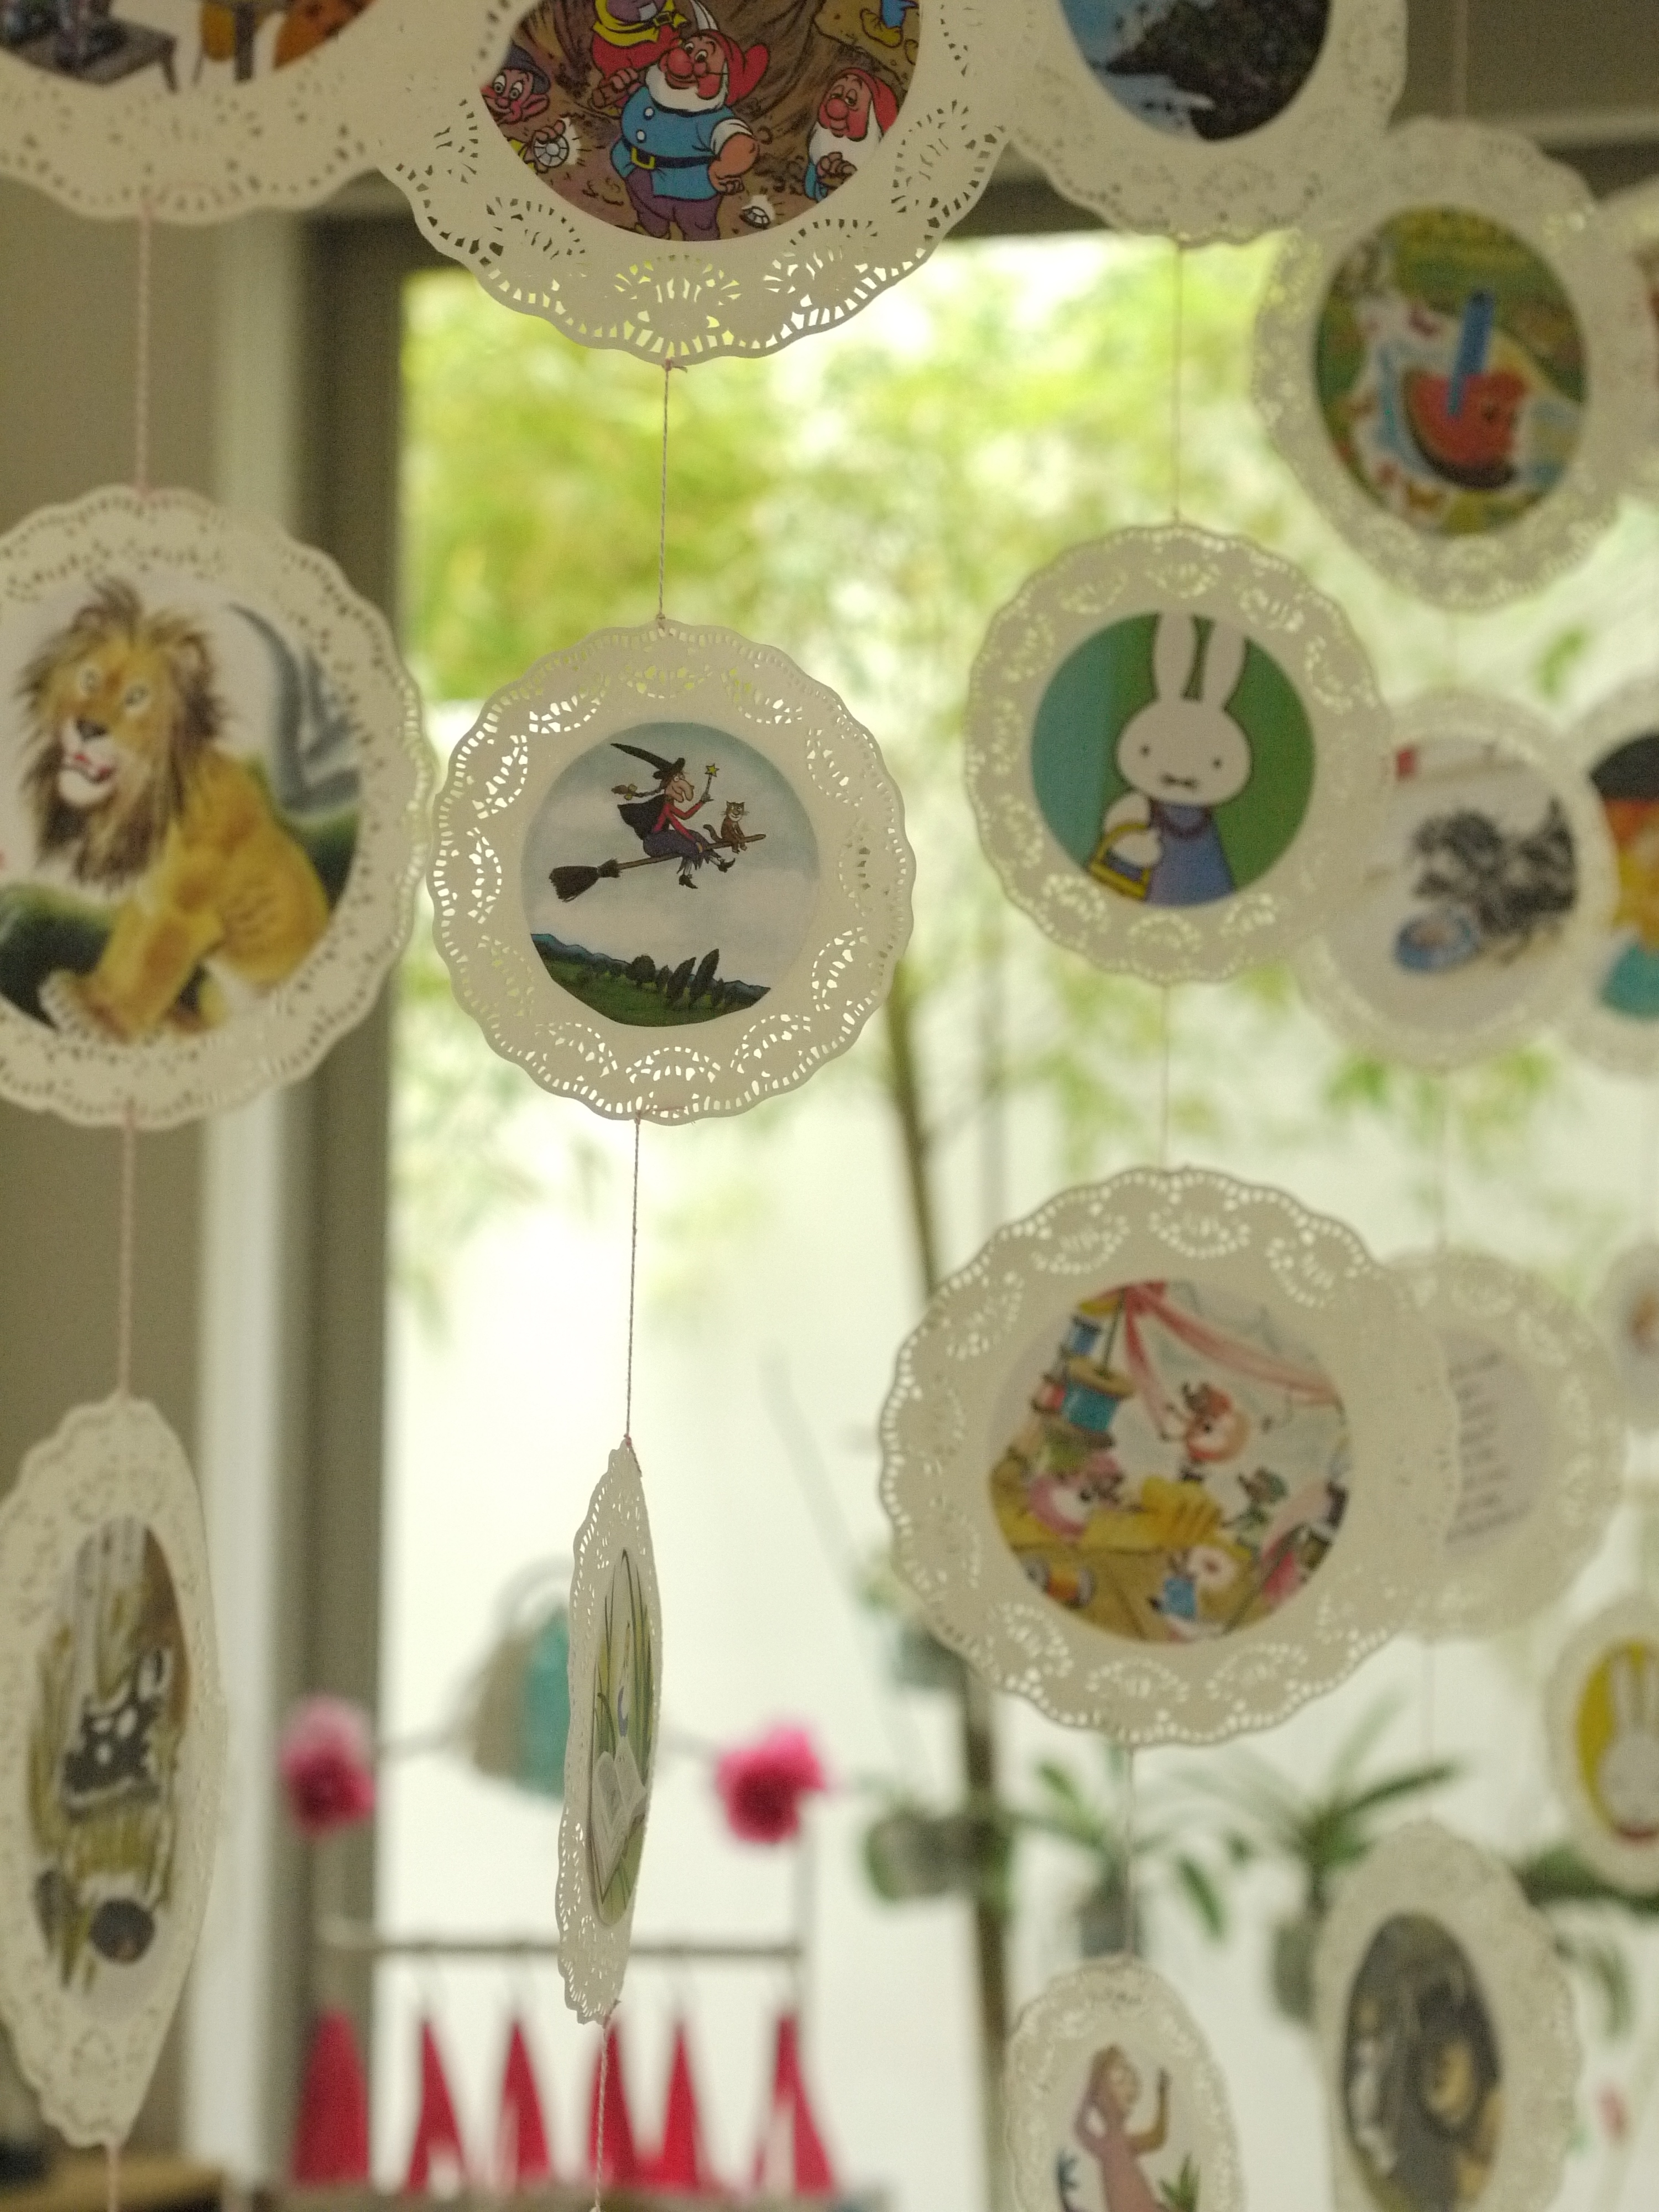
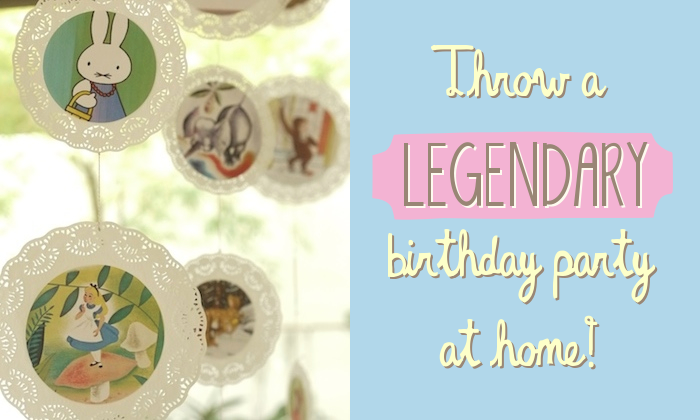
To create some interest in the room, I made doily garlands and hung them vertically from the ceiling.
As anyone who has hosted a 4-year-old’s birthday party will tell you, there is a small window in which to capture children’s attention with a game (not having an organised game is not really an option unless you want the party to descend into chaos). So, along with the regular musical statues and pass the parcel, I devised a guessing game around books.
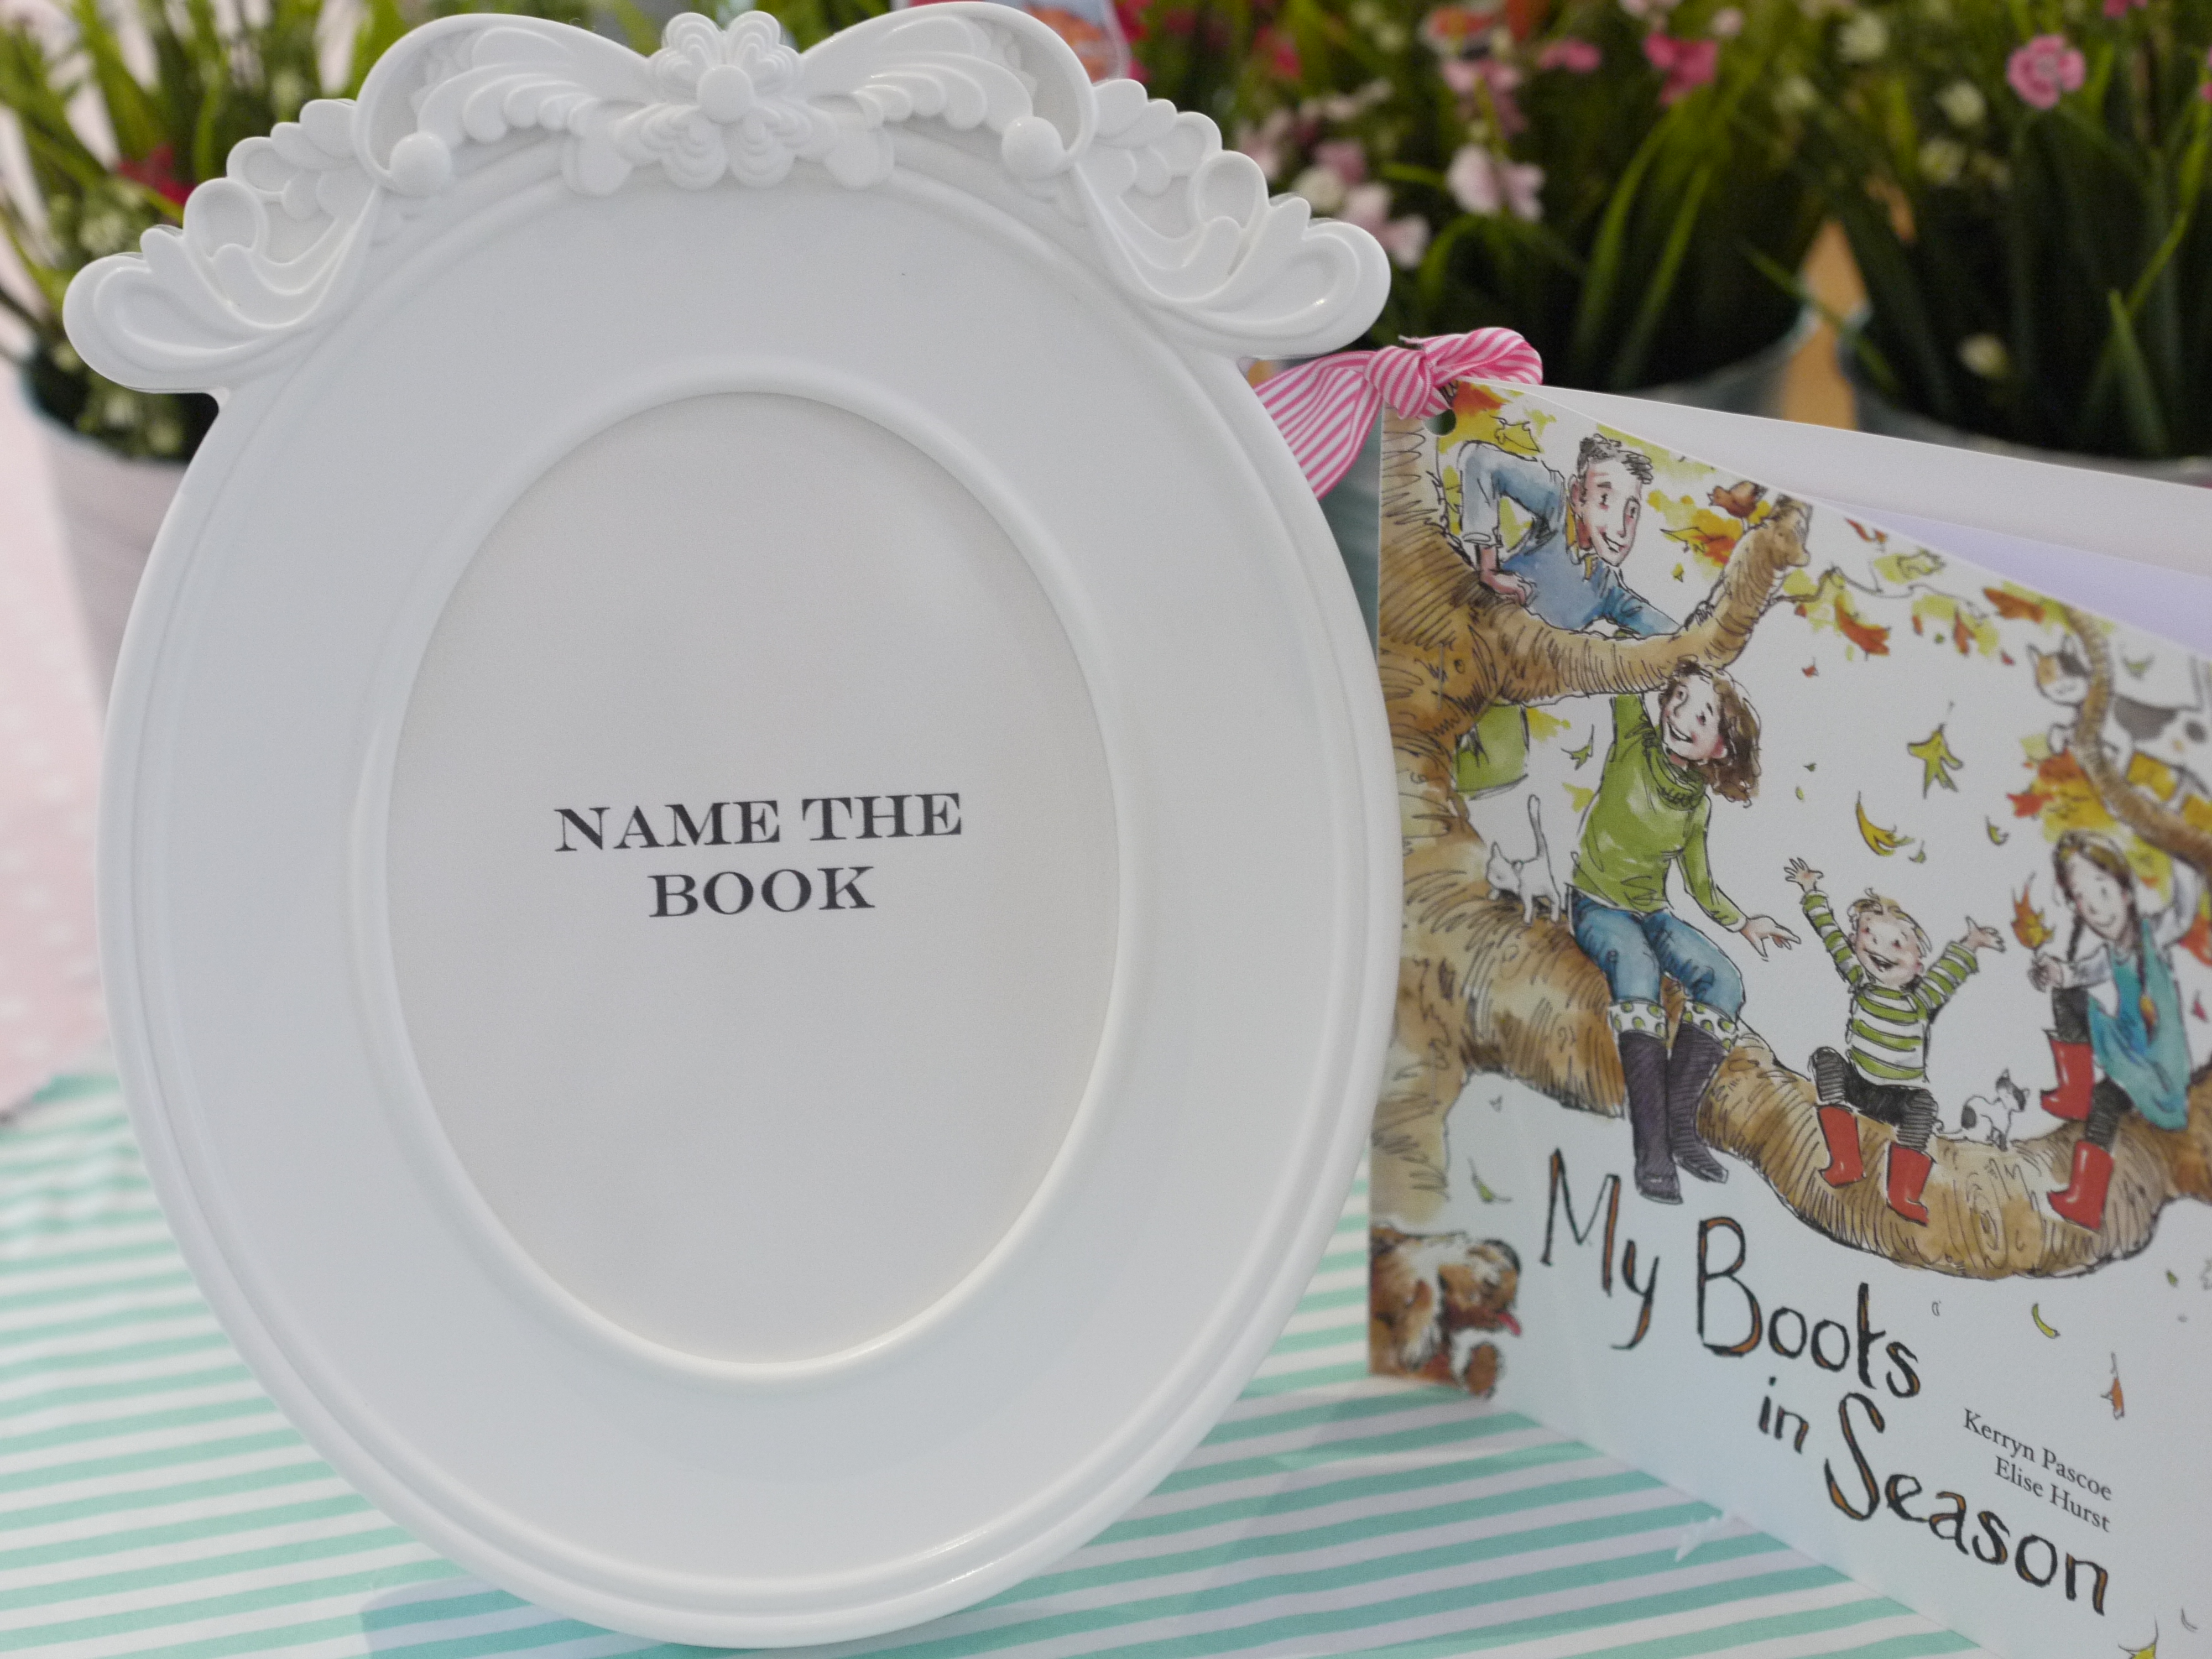
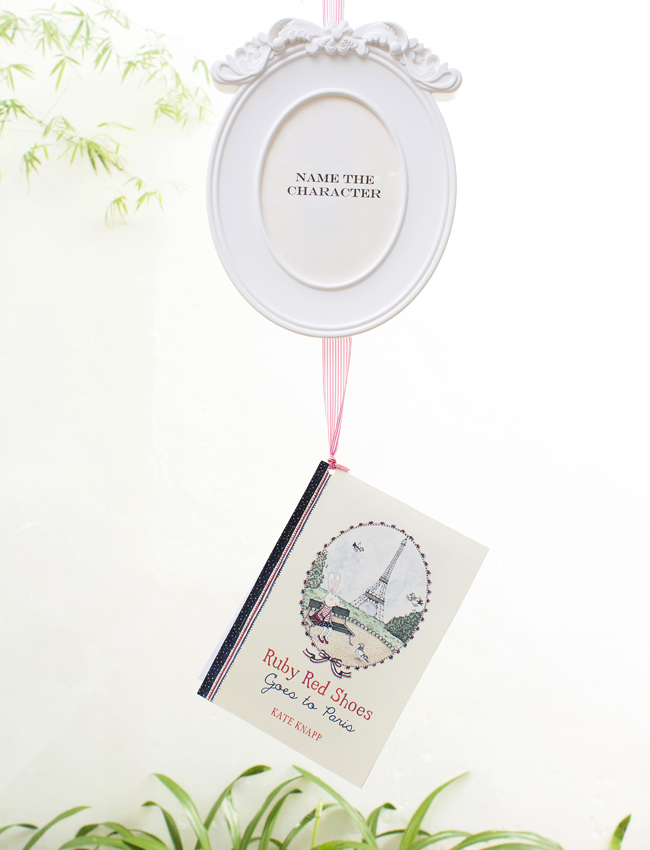
Along the windows I hung these frames and made a pretend book that hung from the frame with the clues. For ‘Name the Book’ the kids had to guess the book title using an excerpt from the book (…“but who is this creature with terrible claws and terrible teeth in his terrible jaws…” cue squeals of “THE GRUFFALOOOO!”). I also did ‘Guess Who’, ‘Name the Character’ and ‘Who am I?’.
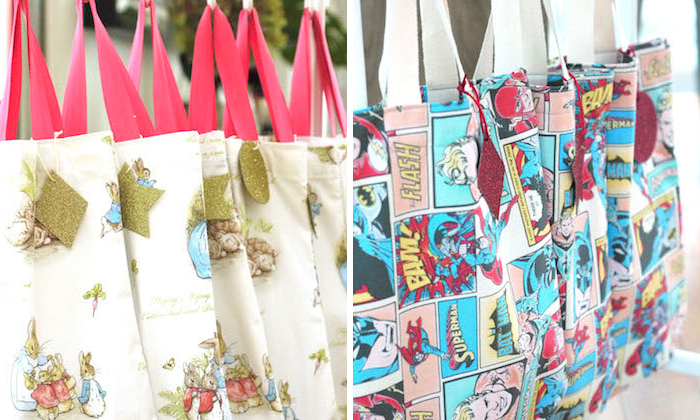
Sticking with the book theme, I made some library bags for the takeaway (although I realise comics aren’t strictly books, it was either this or Winnie the Pooh fabric for the boys’ bags; I consulted my 7-year-old son who left me in no doubt which way I should go on that one).
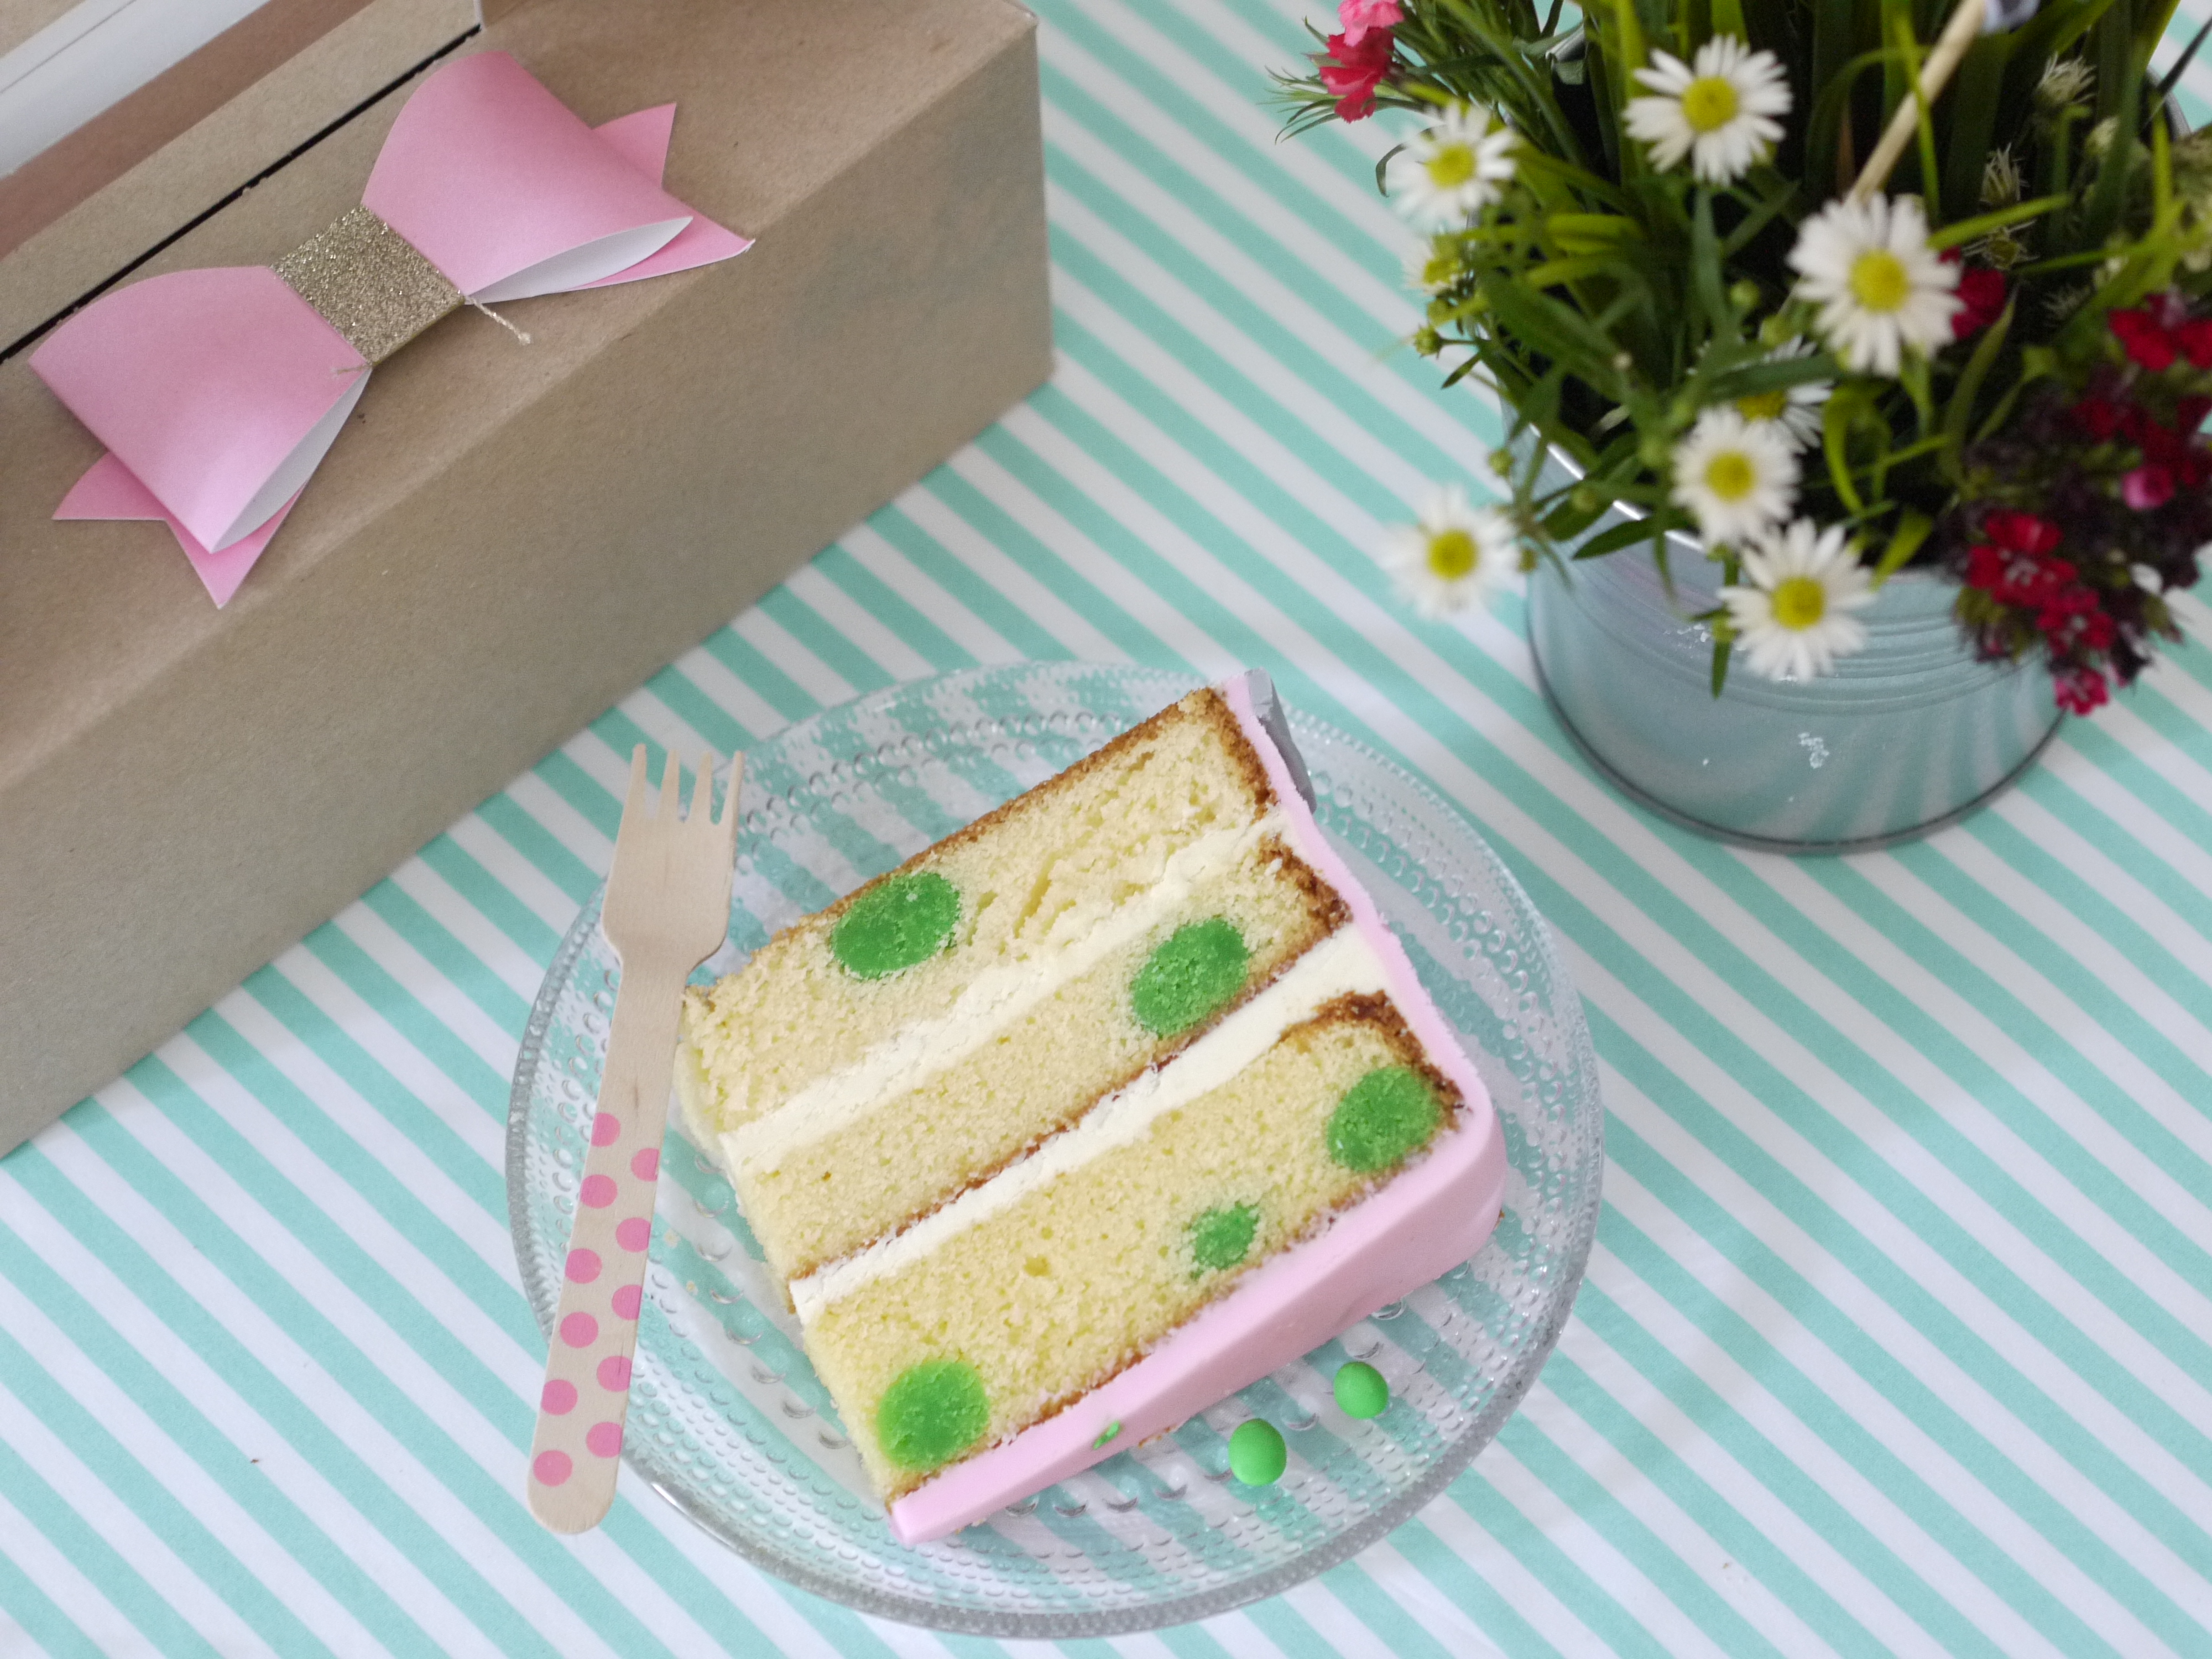
The Princess and the Pea cake was relatively easy, although it did require four separate cakes to be baked. I always do my baking the day before the party, not only because the day of the party is usually pretty chaotic, but more importantly icing a cake is infinitely easier when it has been in the fridge for a few hours, if not a day, and I have little patience for icing. Baking four cakes is not difficult (I used the same recipe for each cake), but it is time consuming and my goodness there was a lot of butter! Stay tuned later this week for my How-to guide to making a “Princess in the Pea” cake!
Here’s a rundown of what you’ll need to create a storybook party, mamas:
Book Character Table Decorations
Colour print your child’s favourite book characters, cut them out and stick them (using sticky-tape) to a bamboo skewer. For a cake topper version, reduce the size of your image and stick the character on a toothpick and insert in your cupcakes.
Storybook Garlands
Colour print illustrations or excerpts of text from your child’s favourite books. Using a circle cutter (you can buy these at Paper Market) cut the image and glue to a paper doily (find these at ToTT). Thread some string through the holes at the top of the doily and tie a knot. Then repeat the same with the string at the bottom of the doily and attach to the next doily top so that they hang in a vertical line. (If you prefer, you can also hang these horizontally and place your string on either side of the doily instead of the top and bottom).
All in all it was almost like an educational trip to the library, just add sugar!



 View All

 View All


 View All


