


 View All


 View All


 View All
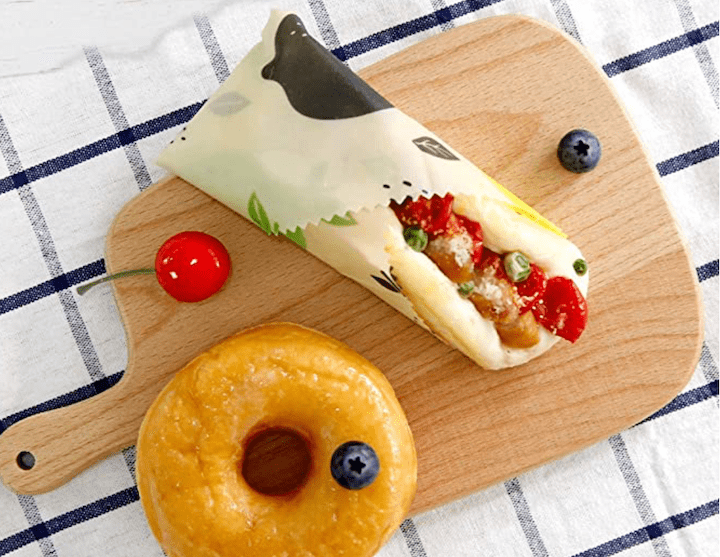
 Post Category - Green LivingGreen Living
Our excessive use of plastic is negatively impacting our environment. Here’s one way to reduce plastic – swap cling wrap (or cling film) for homemade cheap DIY beeswax food wraps. Here’s how!
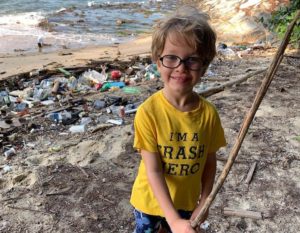
When my daughter, Simran, was 6 years old, I taught her about the negative effect of plastic straws on our environment. Ever since then, she has been mindful about single-use plastic which is really heart-warming to me as a parent. One other way we try reduce plastic at home is by making our own beeswax food wraps to cover food instead of buying cling wrap. This is a truly amazing alternative to single-use plastic wrap. Beeswax wraps are reusable and are naturally antimicrobial. The waxy coating makes the cloth waterproof, but breathable. After each use, beeswax wrap can be washed with room temperature tap water and air-dried. Store and protect your food with these natural and durable beeswax wraps – they work great to make covers for anything, or as a wrap for dry foods like cheese, or sandwiches. The best thing is they are super easy and inexpensive to make yourself!
You’ll just need a cotton handkerchief or cotton material, beeswax pellets (from Shopee, around $2) and everything else pretty much is available at home.
What you’ll need to make beeswax wraps
- White Beeswax Pellets
- A cotton handkerchief
- Old towel
- Scissors
- Iron
- Parchment/ Baking paper
Step by step instructions to make beeswax wraps
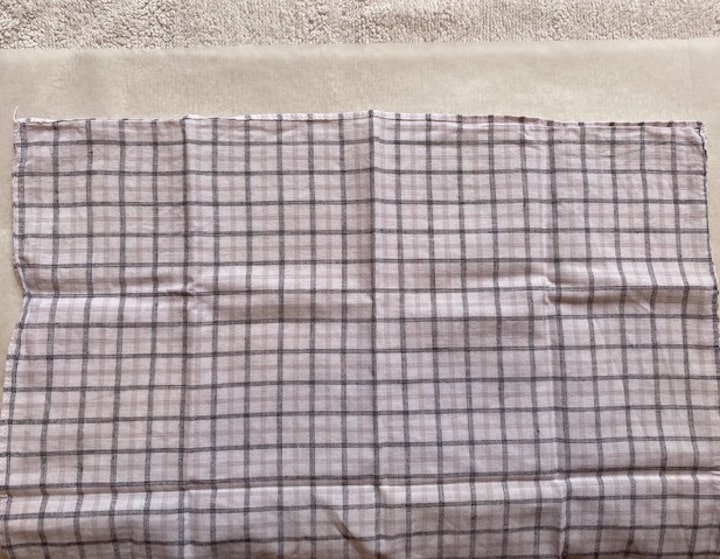
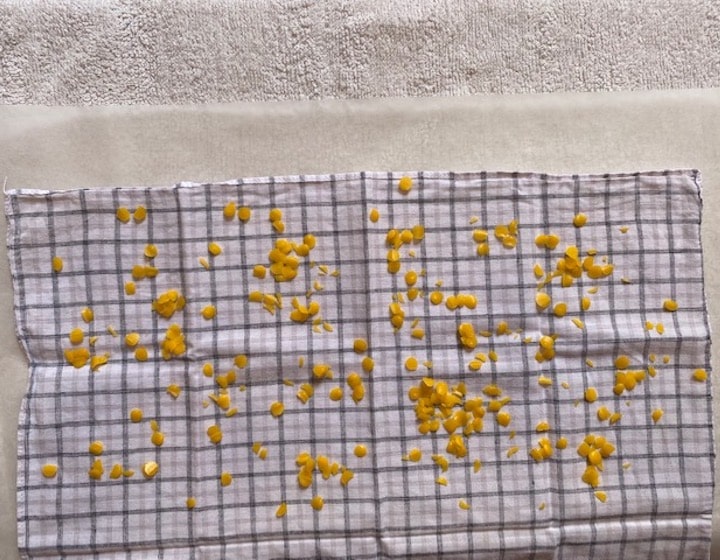
1. Place a towel down on your table. Cut out two pieces of parchment paper larger than your cotton material. Place your cotton material in-between the two parchment sheets leaving a border of at least two inches.
2. Sprinkle Beeswax Pellets (about two tablespoons) on top of the cotton and cover with the parchment paper.
3. Set the iron for linen, and when it is hot pass it over the parchment paper. The wax below will start to melt. Keep moving the iron and do not let it stay in the same place for too long. Be mindful of where the melted beeswax is and keep it away from your iron and your fingers.
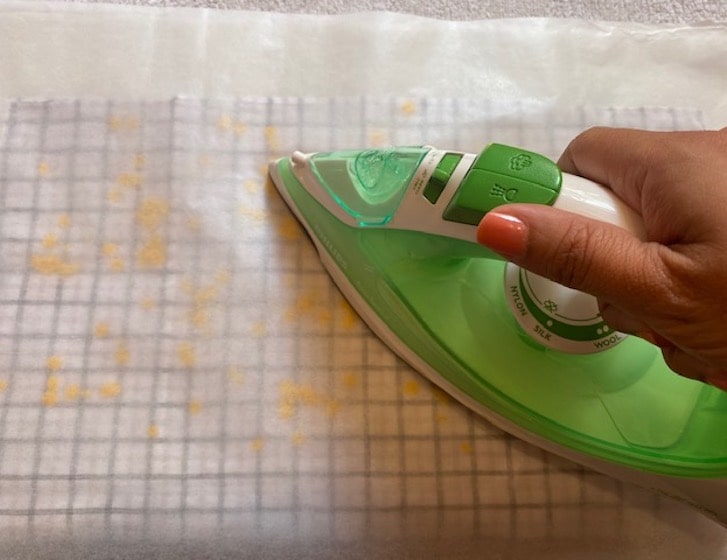
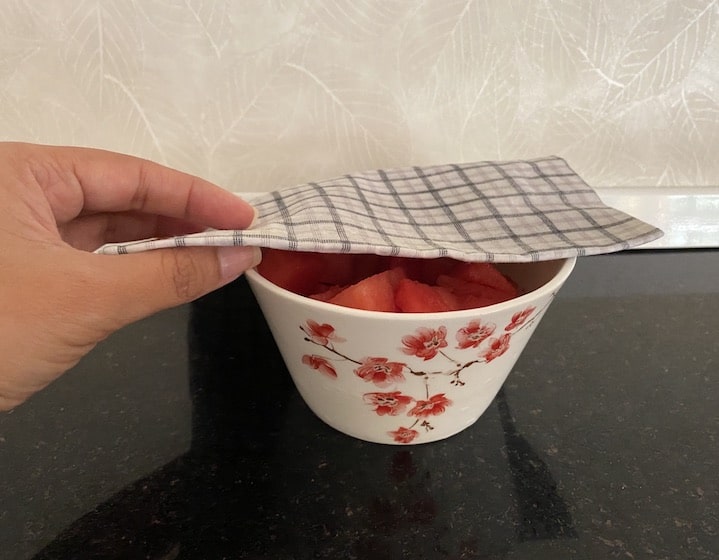
Dry and it’s ready! Do not touch the beeswax wrap immediately after ironing, let it cool. Once beeswax wrap cools, the wrap is ready to use.
These DIY beeswax food wraps are great to pack sandwiches in or use to cover food containers. No time to make your own? Check out these ready-made beeswax food wraps like the lead image by OrgaWise reusable food wraps!
Every little green step counts, together we can make a difference!


![[𝗙𝗜𝗥𝗦𝗧 𝗟𝗢𝗢𝗞] 𝗟𝗮𝗿𝗴𝗲𝗿-𝗧𝗵𝗮𝗻-𝗟𝗶𝗳𝗲 𝗗𝗶𝘀𝗻𝗲𝘆 𝗜𝗻𝘀𝘁𝗮𝗹𝗹𝗮𝘁𝗶𝗼𝗻𝘀 & 𝗦𝘁𝘂𝗻𝗻𝗶𝗻𝗴 𝗟𝗶𝗴𝗵𝘁𝘀 𝗔𝘁 𝗦𝗲𝗻𝘁𝗼𝘀𝗮’𝘀 𝗠𝗮𝗴𝗶𝗰𝗮𝗹 𝗜𝘀𝗹𝗮𝗻𝗱 𝗔𝗱𝘃𝗲𝗻𝘁𝘂𝗿𝗲
Disney fans, this one’s for you! Plan a fun family day out at Sentosa from 24 June to 20 September 2026 to soak in all of the Disney magic. Look forward to larger-than-life Disney, Pixar and Marvel-inspired installations during the day and illuminated manta rays, star-lit paths and ocean-inspired lights by night. Be sure to check out all seven themed areas inspired by the Disney Cruise Line and hop aboard the Singapore Cable Car for more immersive Disney-inspired experiences.
𝗪𝗵𝗮𝘁 𝘄𝗲 𝗹𝗼𝘃𝗲:
- Plenty of free photo opportunities around the island
- Giant Baymax, Toy Story and Marvel-themed installations that the kids will love!
- Beautiful princess-inspired displays at Sensoryscape
- The glowing ocean-themed experience at the Southernmost Point after sunset
- Fun day-to-night transformation that feels like two different events
𝗪𝗵𝗮𝘁 𝘁𝗼 𝘁𝗮𝗸𝗲 𝗻𝗼𝘁𝗲 𝗼𝗳:
- Wear comfortable shoes as you’ll be exploring multiple locations.
- Some installations are spread out across the island, so plan a few hours for your visit.
- The nighttime displays are best enjoyed after sunset.
- Bring water, sunscreen and hats if you are visiting during the day.
Comment “disney” or tap the link in bio for all the deets!](https://www.sassymamasg.com/wp-content/plugins/instagram-feed/img/placeholder.png)
