Whether you rent or own, there are lots of ways to spruce up your home without breaking the bank. This interior designer shares her fave tips and tricks, and shows you how she redid her own apartment!
I’ve always loved the concept of mixing high-end with affordable – in what I wear, in the way I eat (hello, once a month organic food binge), and especially in design. The interior of your home is no different; it lends itself effortlessly to mixing premium materials with affordable furniture pieces. The only question is, where to start? I was tired of hearing from friends about their expensive renovation or half-done homes because there simply wasn’t enough time or budget.
I envisioned a way to build a home you love without having to get tangled up in the nitty-gritty of how big the nightstand should be…or worse, coordinating multiple deliveries over endless weeks. By the end of it, you’d be too exhausted to enjoy your hard work!
Many of my clients are new mums or mums-to-be, so I know the added stress of figuring out your dream family home while dealing with the demands of pregnancy or young children. Working with families – and Sassy Mamas – has been one of my favourite parts of work!
The first home I ever did was my own…with a tad bit of coercion to make my husband my first client — as a proof of concept. I’m glad I took this leap; it was clear we needed this approach to design here in Singapore.
Click through the gallery to see a few tips and tricks I’ve learned on my design journey…
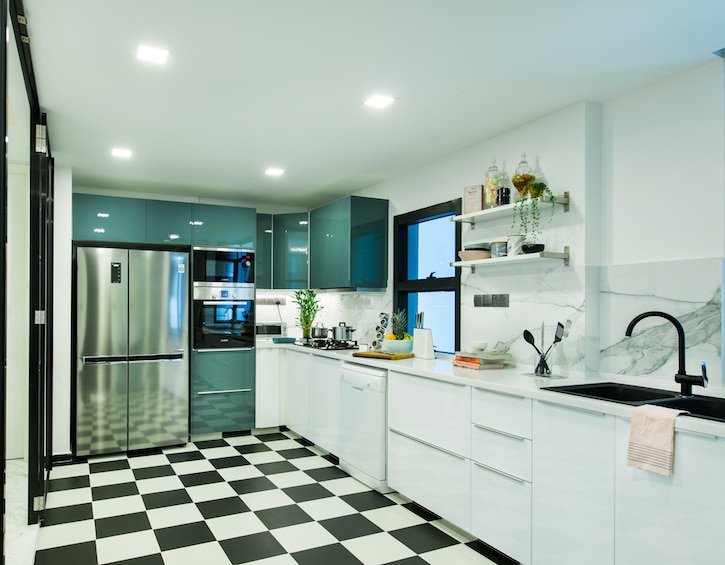
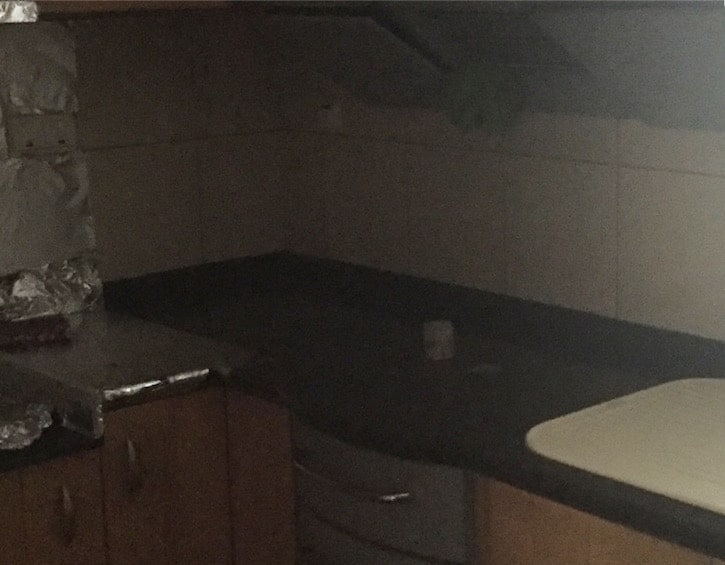
I upgraded my kitchen for under $10,000 using mostly IKEA, which has some of the best carpentry in town. Their machine-wrapped laminates make kitchen cabinets extremely durable, a must for a MasterChef wannabe like me. But IKEA alone wouldn’t do in bringing the entire space together — beautiful marble tiles as the backsplash added the ‘luxe’ aesthetic, while black and white floors made it modern and chic.
The dated kitchen I walked into- and the transformation with IKEA cabinets and surface, black and white floor tiles and a marble tile backsplash.
Before:
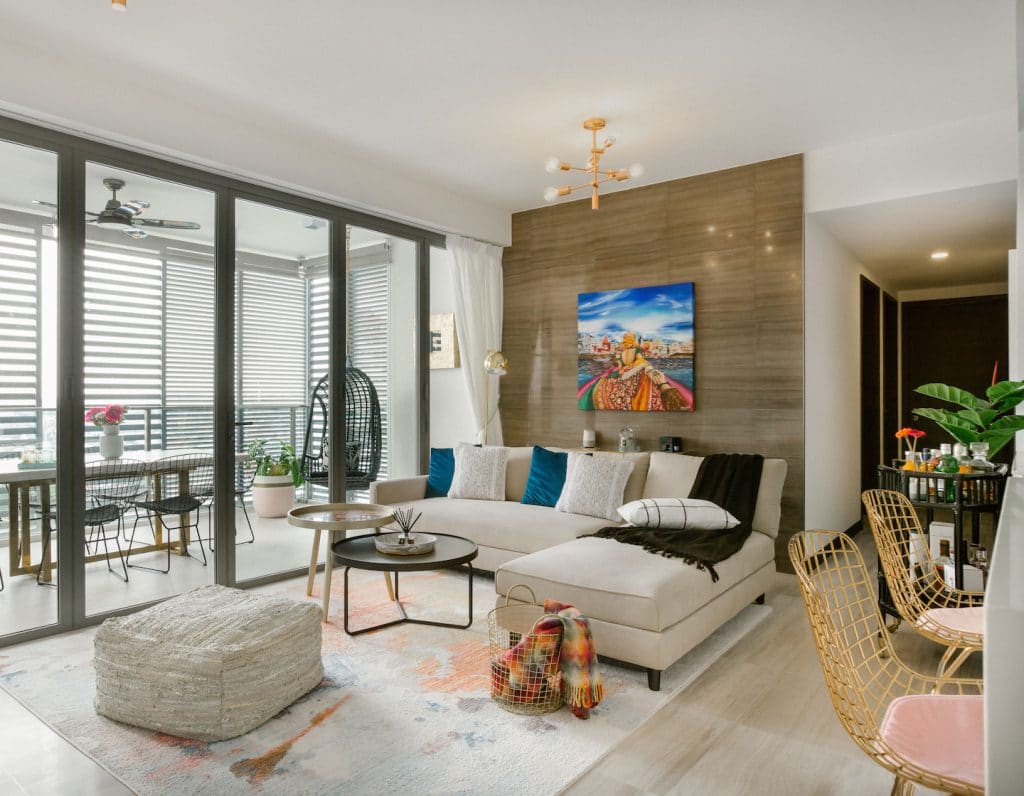
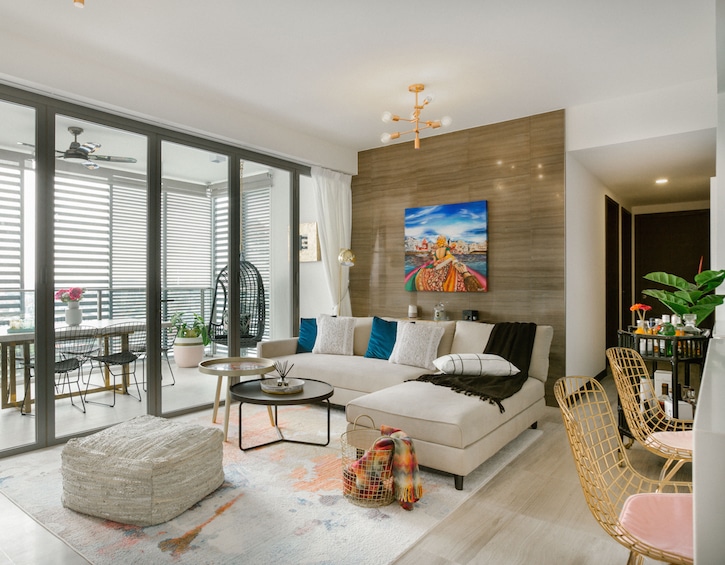
My top tip when designing living rooms is to add a rug that will bring the space together. Personally, I splurged on a luxurious Kashmiri handwoven one from Hassan’s Carpets. Some of my clients would rather spend on a beautiful marble dining table, in which case I’d propose a more affordable rug. However, I encourage you to not miss out on this integral piece to the living room. I especially love using rugs to break up monotonous tones, add some vibrancy and best of all, they’re an easy swap out for when you need something fresh.
Living room before and after: the combination of a lighter rug with hints of colour brightens the space and ties the various pieces together.
Before:
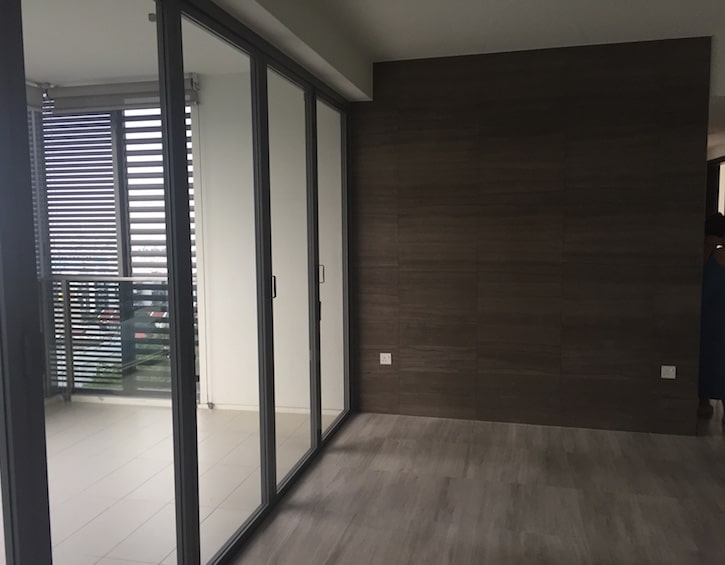
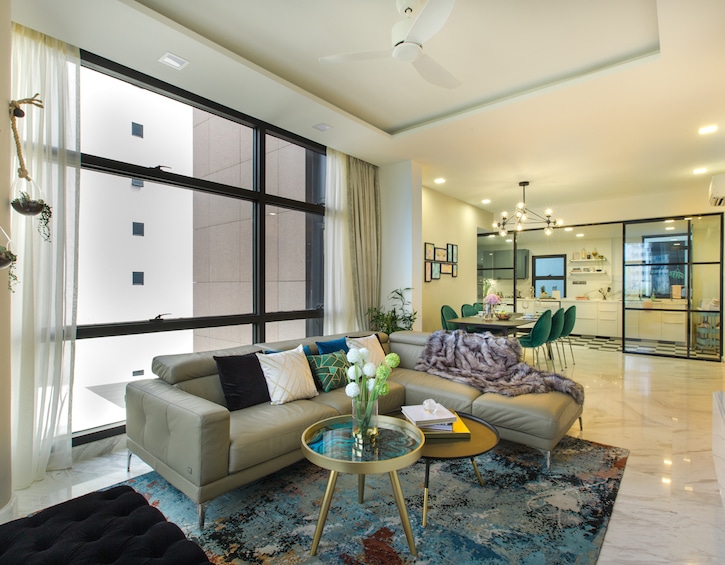
Another affordable upgrade to your home is to change up the lighting without expensive rewiring. Most existing lighting or fan points can host a small chandelier or pendant lights, which look great above a dining table. My work has me hunting around locally and globally for the best lighting – everything from table lamps to wall lights – to add warmth and style to any home I’m working on.
Living room before and after: Vivid colours of the rug liven up the space and create continuity through the open plan living and dining room.
Before:
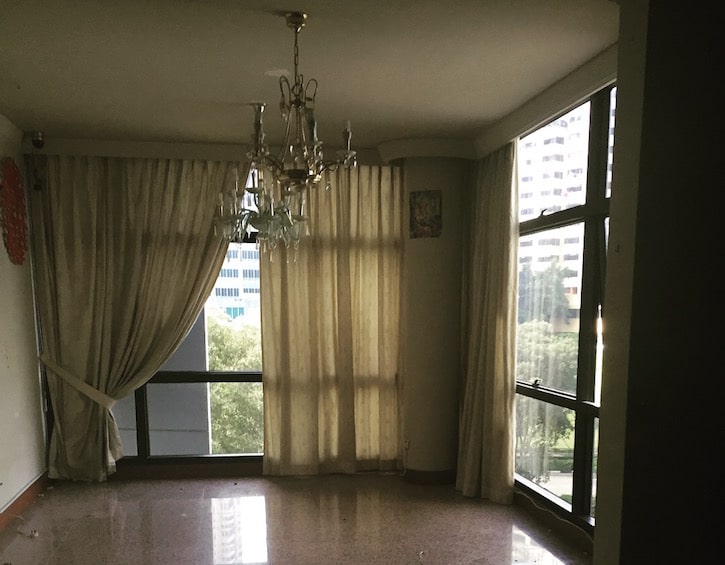
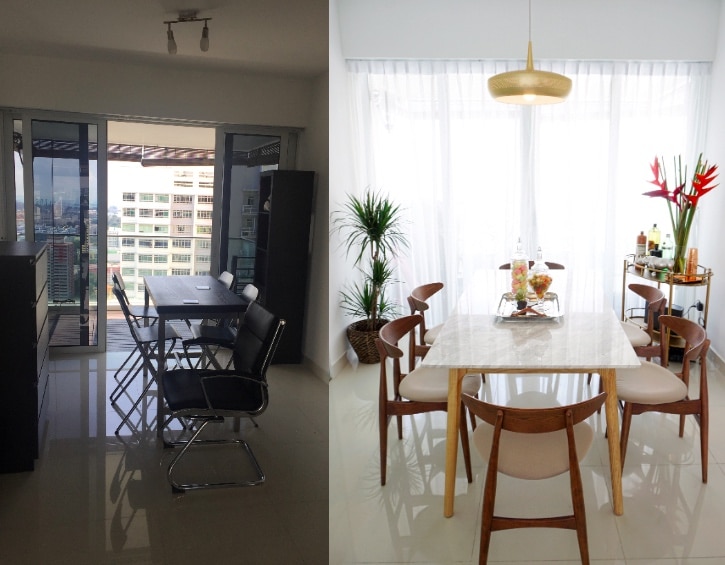
When renting a unit, spending on the design can feel daunting — how long will you be here? Does it make sense to spend on this now? Having moved recently from New York City, my clients didn’t want to spend more than $15,000 on their 3-bedroom home. I sifted through big stores for good quality steals, which was key to putting together a place they love. There are treasures in every furniture store, just waiting to be unearthed. Yes, even in the likes of Courts and IKEA!
Above: A rental home with existing furniture that was neither stylish nor practical, and the Home Philosophy redesign which comfortably seats 6 friends and a bar cart — no mounted fixtures required.
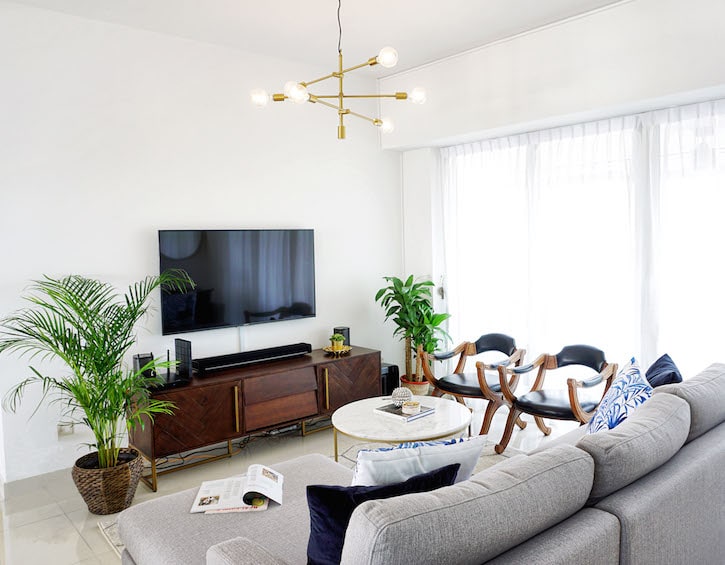
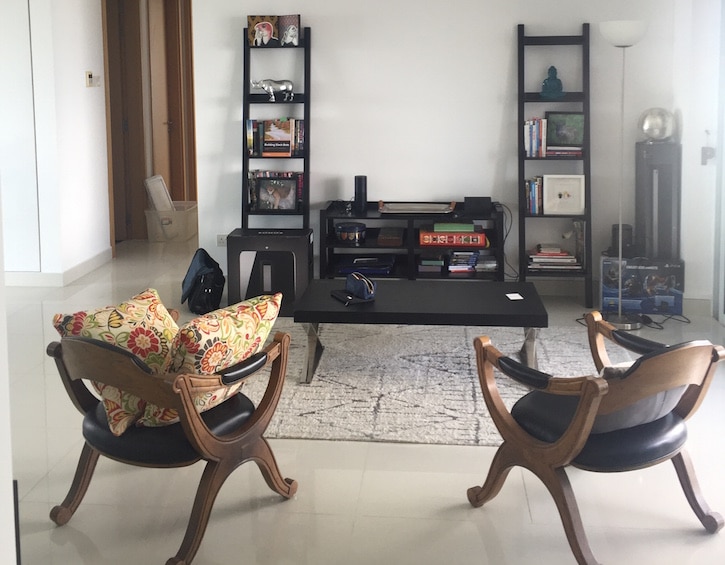
Throwing out your old furniture is not the only option; we worked our clients’ teak wood accent chairs into the living room design.
Before:
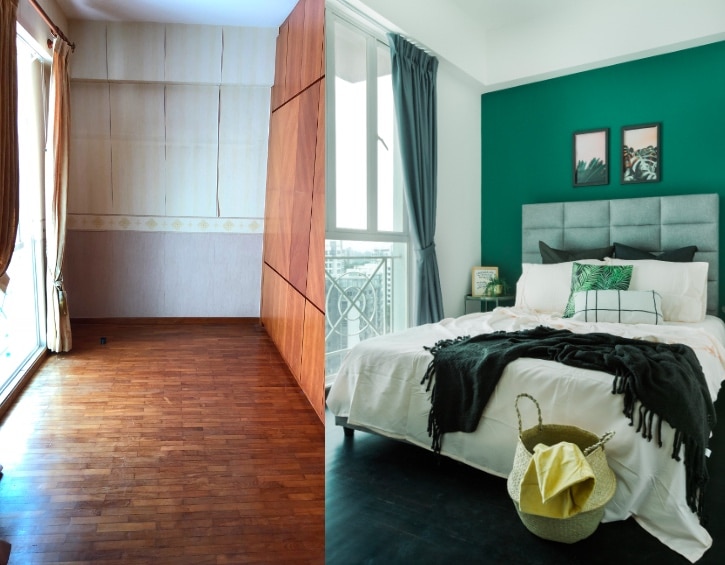
Paint is a great budget hack for a rental home to make it instantly cosy. Adding a feature wall doesn’t cost more than a few hundred dollars but goes a long way in making a space beautiful; it’s also easy to repaint to white when moving out.
When it comes to designing on a budget, think about small changes with big impact. Work with colour, accent pieces, accessories, rugs, and lighting to have an Instagram-worthy home.





 View All




 View All





 View All