


 View All


 View All


 View All

Today, mums aren’t just documenting their bundles of joy when they first arrive – they’re capturing the whole journey too, often with a professional maternity photoshoot. Pregnancy is such a special time, and bump shoots are becoming more and more popular. While you may not feel your most photogenic when up the duff, these sessions are all about celebrating your shape!
Following the success of her last photography guide on our sister site in Hong Kong, we’ve got the low down from Elizabeth with her top tips on maternity shooting that will help you transform from camera shy to model mama with ease.
TIMING
The ideal time for a pregnancy shoot is around the 8-month mark. At this stage, the bump is at its best shape, and mum is not too uncomfortable to move around.
However, you don’t need to wait — taking weekly and monthly shots is a lovely way to document your pregnancy and show your body changing. Keep the same (profile!) pose in front of the same background, with the same outfit and, when baby arrives, you can put the photos together in a collage to get the maximum impact from these shots.
There are even apps, such as Cinemama (available for free from the Apple store) out there to help you document with your phone!
OUTFITS
Pregnancy isn’t always comfortable, especially in the later stages (when it’s the best time to get photographed). Help yourself by wearing something you feel good in, and this will reflect in your pictures. Simple patterns and block colours work best, and won’t distract from the subject. The whole point of a maternity shoot is to celebrate your shape, so make sure the camera can see it!
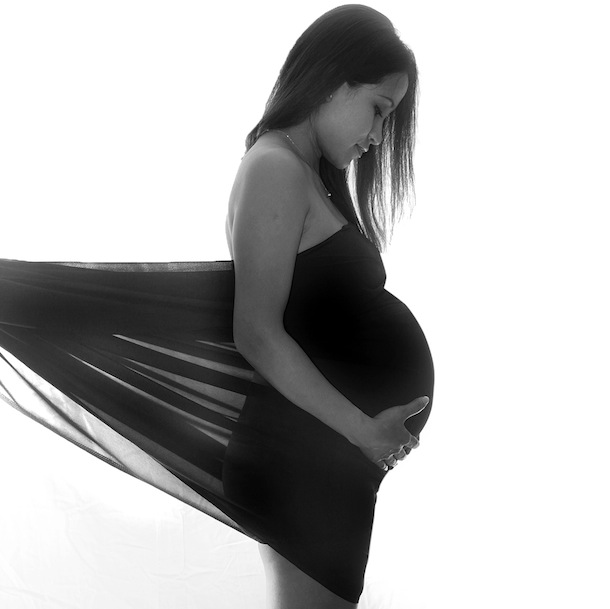
Clingy maxi dresses, leggings and tank tops are all great for keeping it casual and comfortable, and showing off your bump. Flowing dresses look natural and airy; but they can also look shapeless! Highlight your bump by placing hands above and below it, to pull excess material in. Sheer, draped material with light behind it gives a beautiful, feminine look.
Or show some skin…
Keep it natural, and show off your body! For almost nude shots, remove your bra and use your arms and angles to cover yourself.
POSING
You’ve got the outfit, you’ve got the bump… now what’s the best way to pose?
Being comfortable is the most important thing — it will reflect in your face. Move around and experiment to add variety to your shots. Don’t be afraid to get creative; use the camera at different angles from various perspectives. Think about where you’re looking, and always remember that you should be highlighting your bump — it’s the focus of the shoot!
Profile: The best angle to reflect your bump is directly side on. Vary between glancing down at bump and up at the camera.
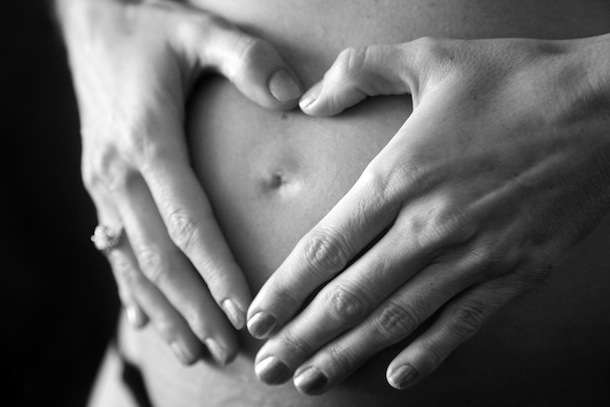
Front-facing: For this angle, it’s best to get your tummy out! Place hands above and below to highlight, or make a heart shape with hands and place them around your belly button.
Close ups: If you want to photograph your pregnancy, but aren’t feeling camera confident, then close-ups and details could be the answer. Showing just your bump in a profile shot with or without hands can look just as effective, and include details such as booties, your scan or wedding rings to add a personal touch!
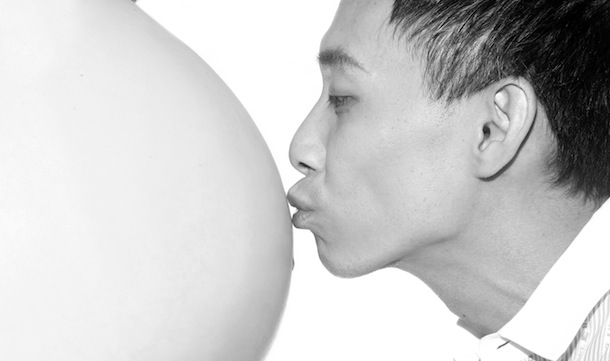
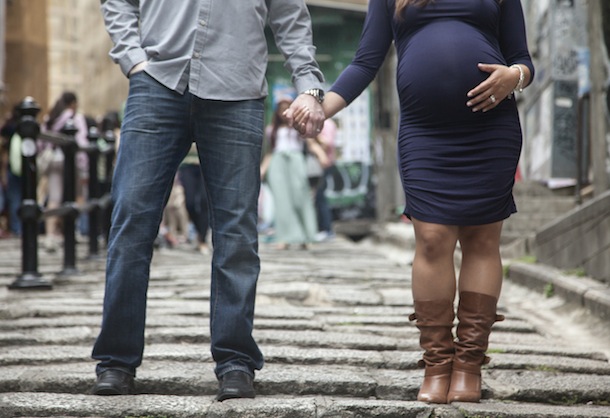
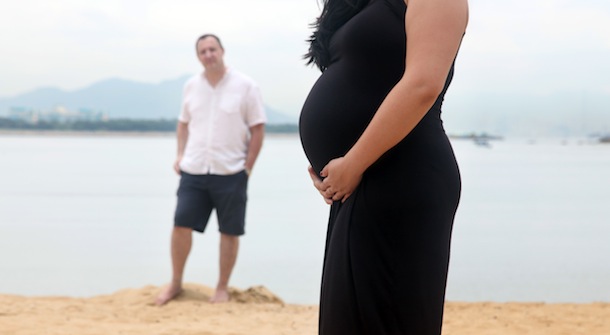
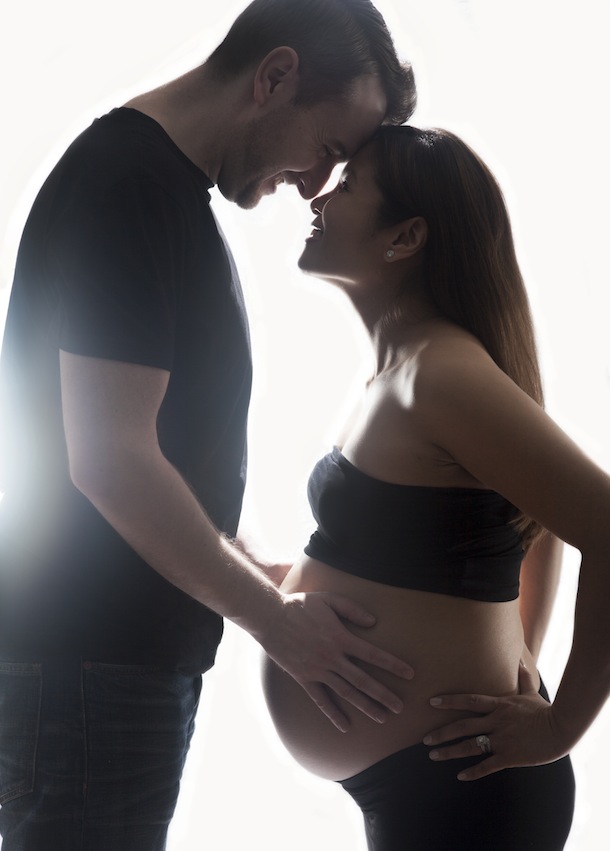
Partners: For pictures with daddy-to-be, have him stand behind you cradling your bump, and mix up the shots by alternating between looking at each other, looking at the camera and looking down at your tummy. A classic shot is dad kissing the bump, so have him get down onto his knees, so he is not crouching over, and take the shot profile on. This shot can look awkward full length, so frame in on dad and tummy.
Siblings: Getting a little brother or sister-to-be posing with you can be tricky, especially if they’re younger. Choose a point on your bump they can focus on, and get them to kiss it and listen in! Showing their hands on your skin, or a shot where they are revealing their own little tummy is also cute.
Sitting/lying down: Sitting down can be a difficult shot as your posture is compromised with an 8-month bump! If you’re sitting, make sure you’re comfortable, use the sofa and relax onto one arm, curling your legs up, or sit profile with your feet down and one leg raised. If you’re lying down, try shooting from above, or get down to the same level and always shoot from head to feet.
PROPS
Photographing your pregnancy isn’t just about your bump, it can also express the excitement and preparation for your new arrival. Using props in your images can reflect your personality and reveal more about the imminent arrival.
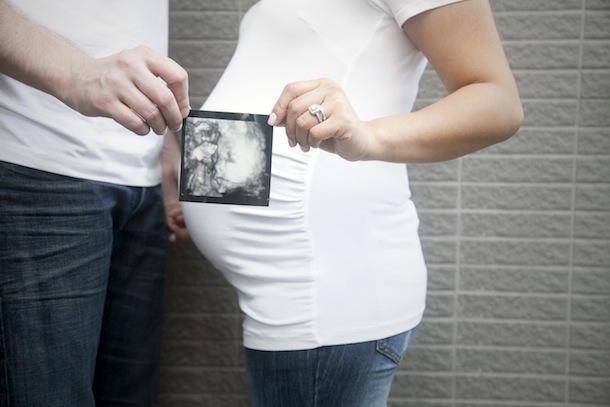
Scan: This is an easy prop as every mum-to-be has one. Place it in front of your bump, and stand both front on, and profile.
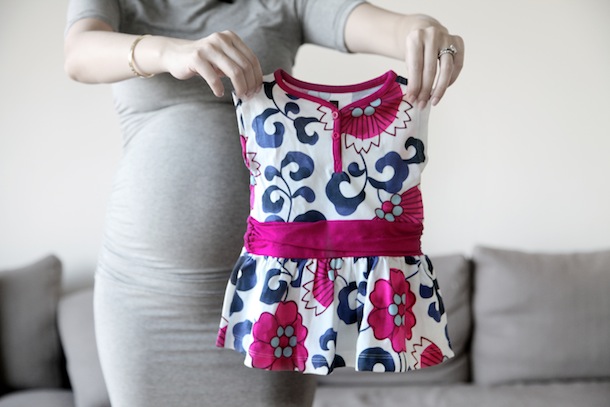
Outfits: Any special baby grows or booties can be incorporated into poses, and the pictures look great juxtaposed next to shots of baby wearing them when they arrive.
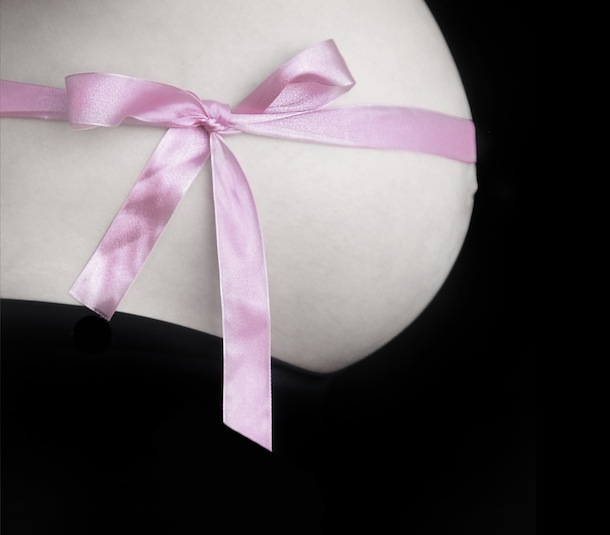
Ribbons and material: Tie pink or blue ribbons around your bump for a cute close-up; scarves, shawls and any other flowing material can be used to drape over and around it.
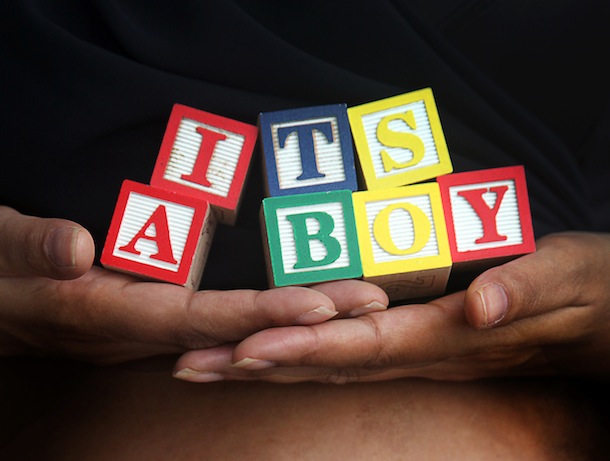
Body paint: A more unusual idea is to write little messages on your bump, such as ‘It’s a girl’, or whatever you like! This works well with sibling shots as it means your little one can also get involved.
LOCATION
Where and when you take your photographs is key to a great picture. Your home is a great starting point but don’t limit yourself to indoors — use our fabulous city as a backdrop!
At home: Home is best for natural relaxed shots; you’re comfortable and nobody will be watching — except the camera! Use the sofa, the bed and any simple clean backdrops such as a white wall or rug. The nursery is also a nice idea as a background in keeping with the theme of the shoot. Windows are your best friend — the natural lighting suits the subject and can create beautiful silhouettes and soft skin. Think about the time of day and how it affects the light in your home.
Outdoors: Singapore has an abundance of perfect backdrops. From the skyline to the beach, a strong horizon line in the background contrasts well with a profile shot. Parks and gardens are lovely natural backdrops for pregnancy portraits, and they also keep any siblings entertained at the same time.
Our city has so many existing ‘frames’. Take a walk around your neighbourhood and use stairways, streets and doorways as your framing.
Try and shoot at an atmospheric time of day — early morning and late afternoon have the best lighting, and weekdays mean less people to clutter up the background.
DIY OR PROFESSIONAL?
All the information above can help you and your family create beautiful shots of your pregnancy — with your own camera or working with a professional. Taking your own shots means you can take your time and experiment, as well as document the whole length of the pregnancy. However, the benefits of hiring a photographer mean you can take the stress out of posing, and have an expert direct you. It also means dad can get out from behind the camera, and pose with you and the bump! Also, a professional is able to retouch the photos — that means any stretch marks or tired eyes can be swept away with a magic brush to give you a polished result.
Whichever you choose, feel beautiful and enjoy the experience. Each pregnancy is a personal journey, and I hope the tips above will give you the confidence to capture yours!